
Tile stability
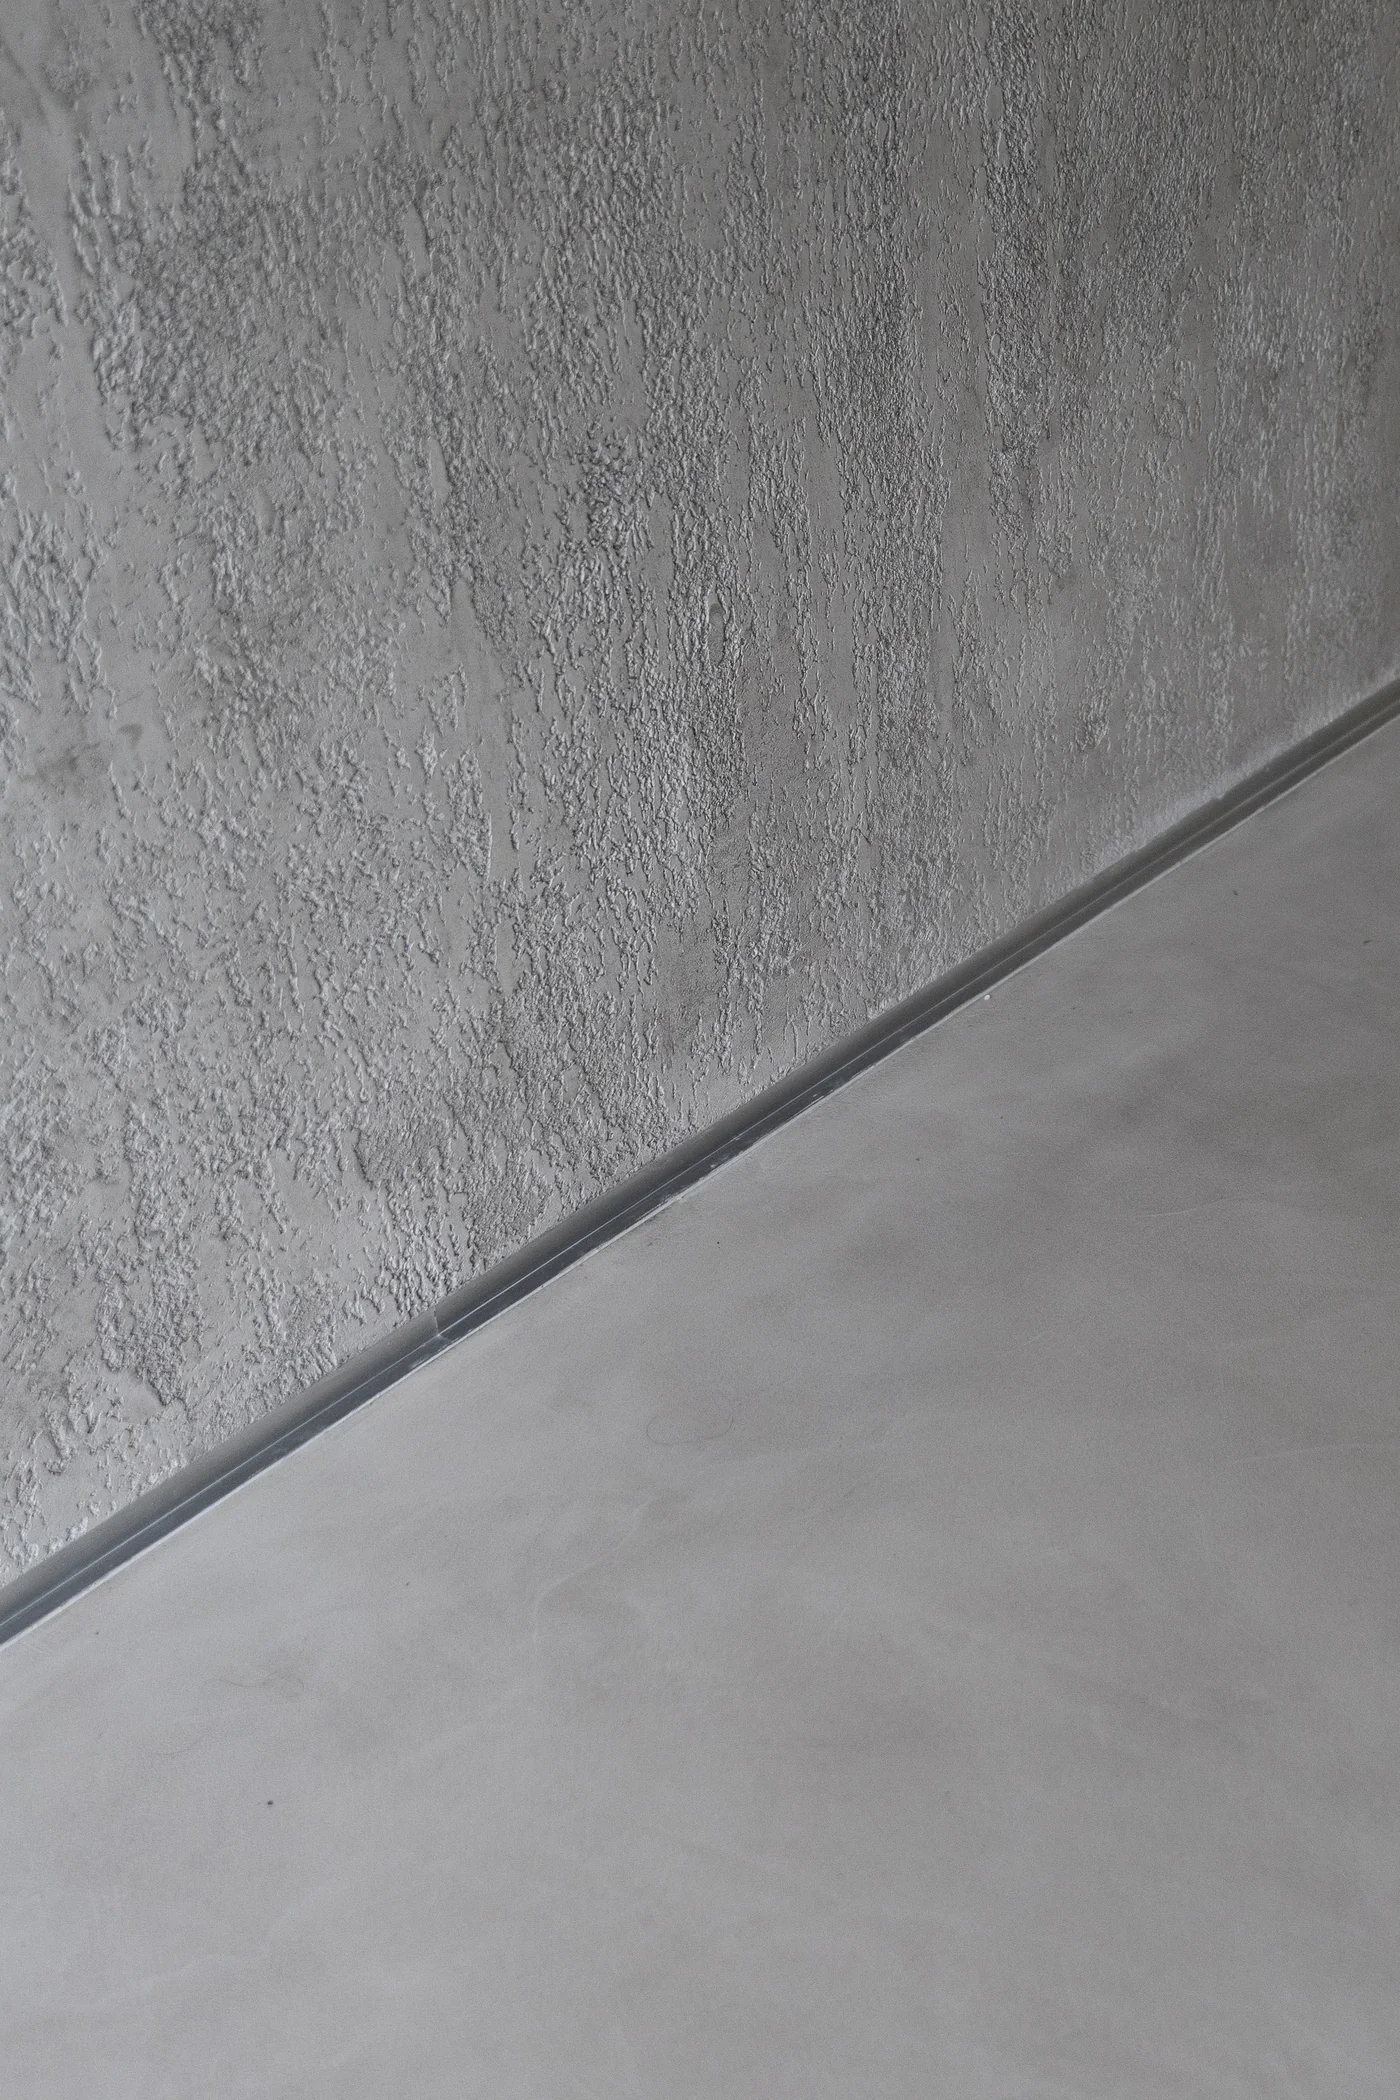
We check whether the tiles are firmly bonded and whether the surface shows detachment or movement.
Microcement / existing tiles
Applying microcement over tiles may reduce demolition, but only when the existing surface is stable and suitable for the required preparation.
Send tile photosBefore we confirm the scope
Photos are enough to begin. If they do not show the condition of the surface, we will explain what further verification is needed.
We check whether the tiles are firmly bonded and whether the surface shows detachment or movement.
The grout grid and existing cracks may need separate preparation and an assessment of their cause.
In bathrooms and other wet areas, the full build-up matters, not only the visible tile surface.
Unevenness, falls, thresholds and the layers below the tiles affect whether the work can proceed.
Layers, not shortcuts
Avoiding demolition is something to assess, not something to promise.
We confirm the scope for the specific project.
Four possible outcomes
Assessment may lead to acceptance, additional preparation, local repair or a recommendation to remove the tiles. An honest assessment matters more than a dust-free promise.
The same tiles may behave differently on a vertical surface and under floor loading. We assess the intended application.
The preparation method follows the existing build-up and is confirmed for the specific tiled surface.
The quote should identify which existing layers are assumed to be sound, what VPD will prepare and which conditions require a new decision.
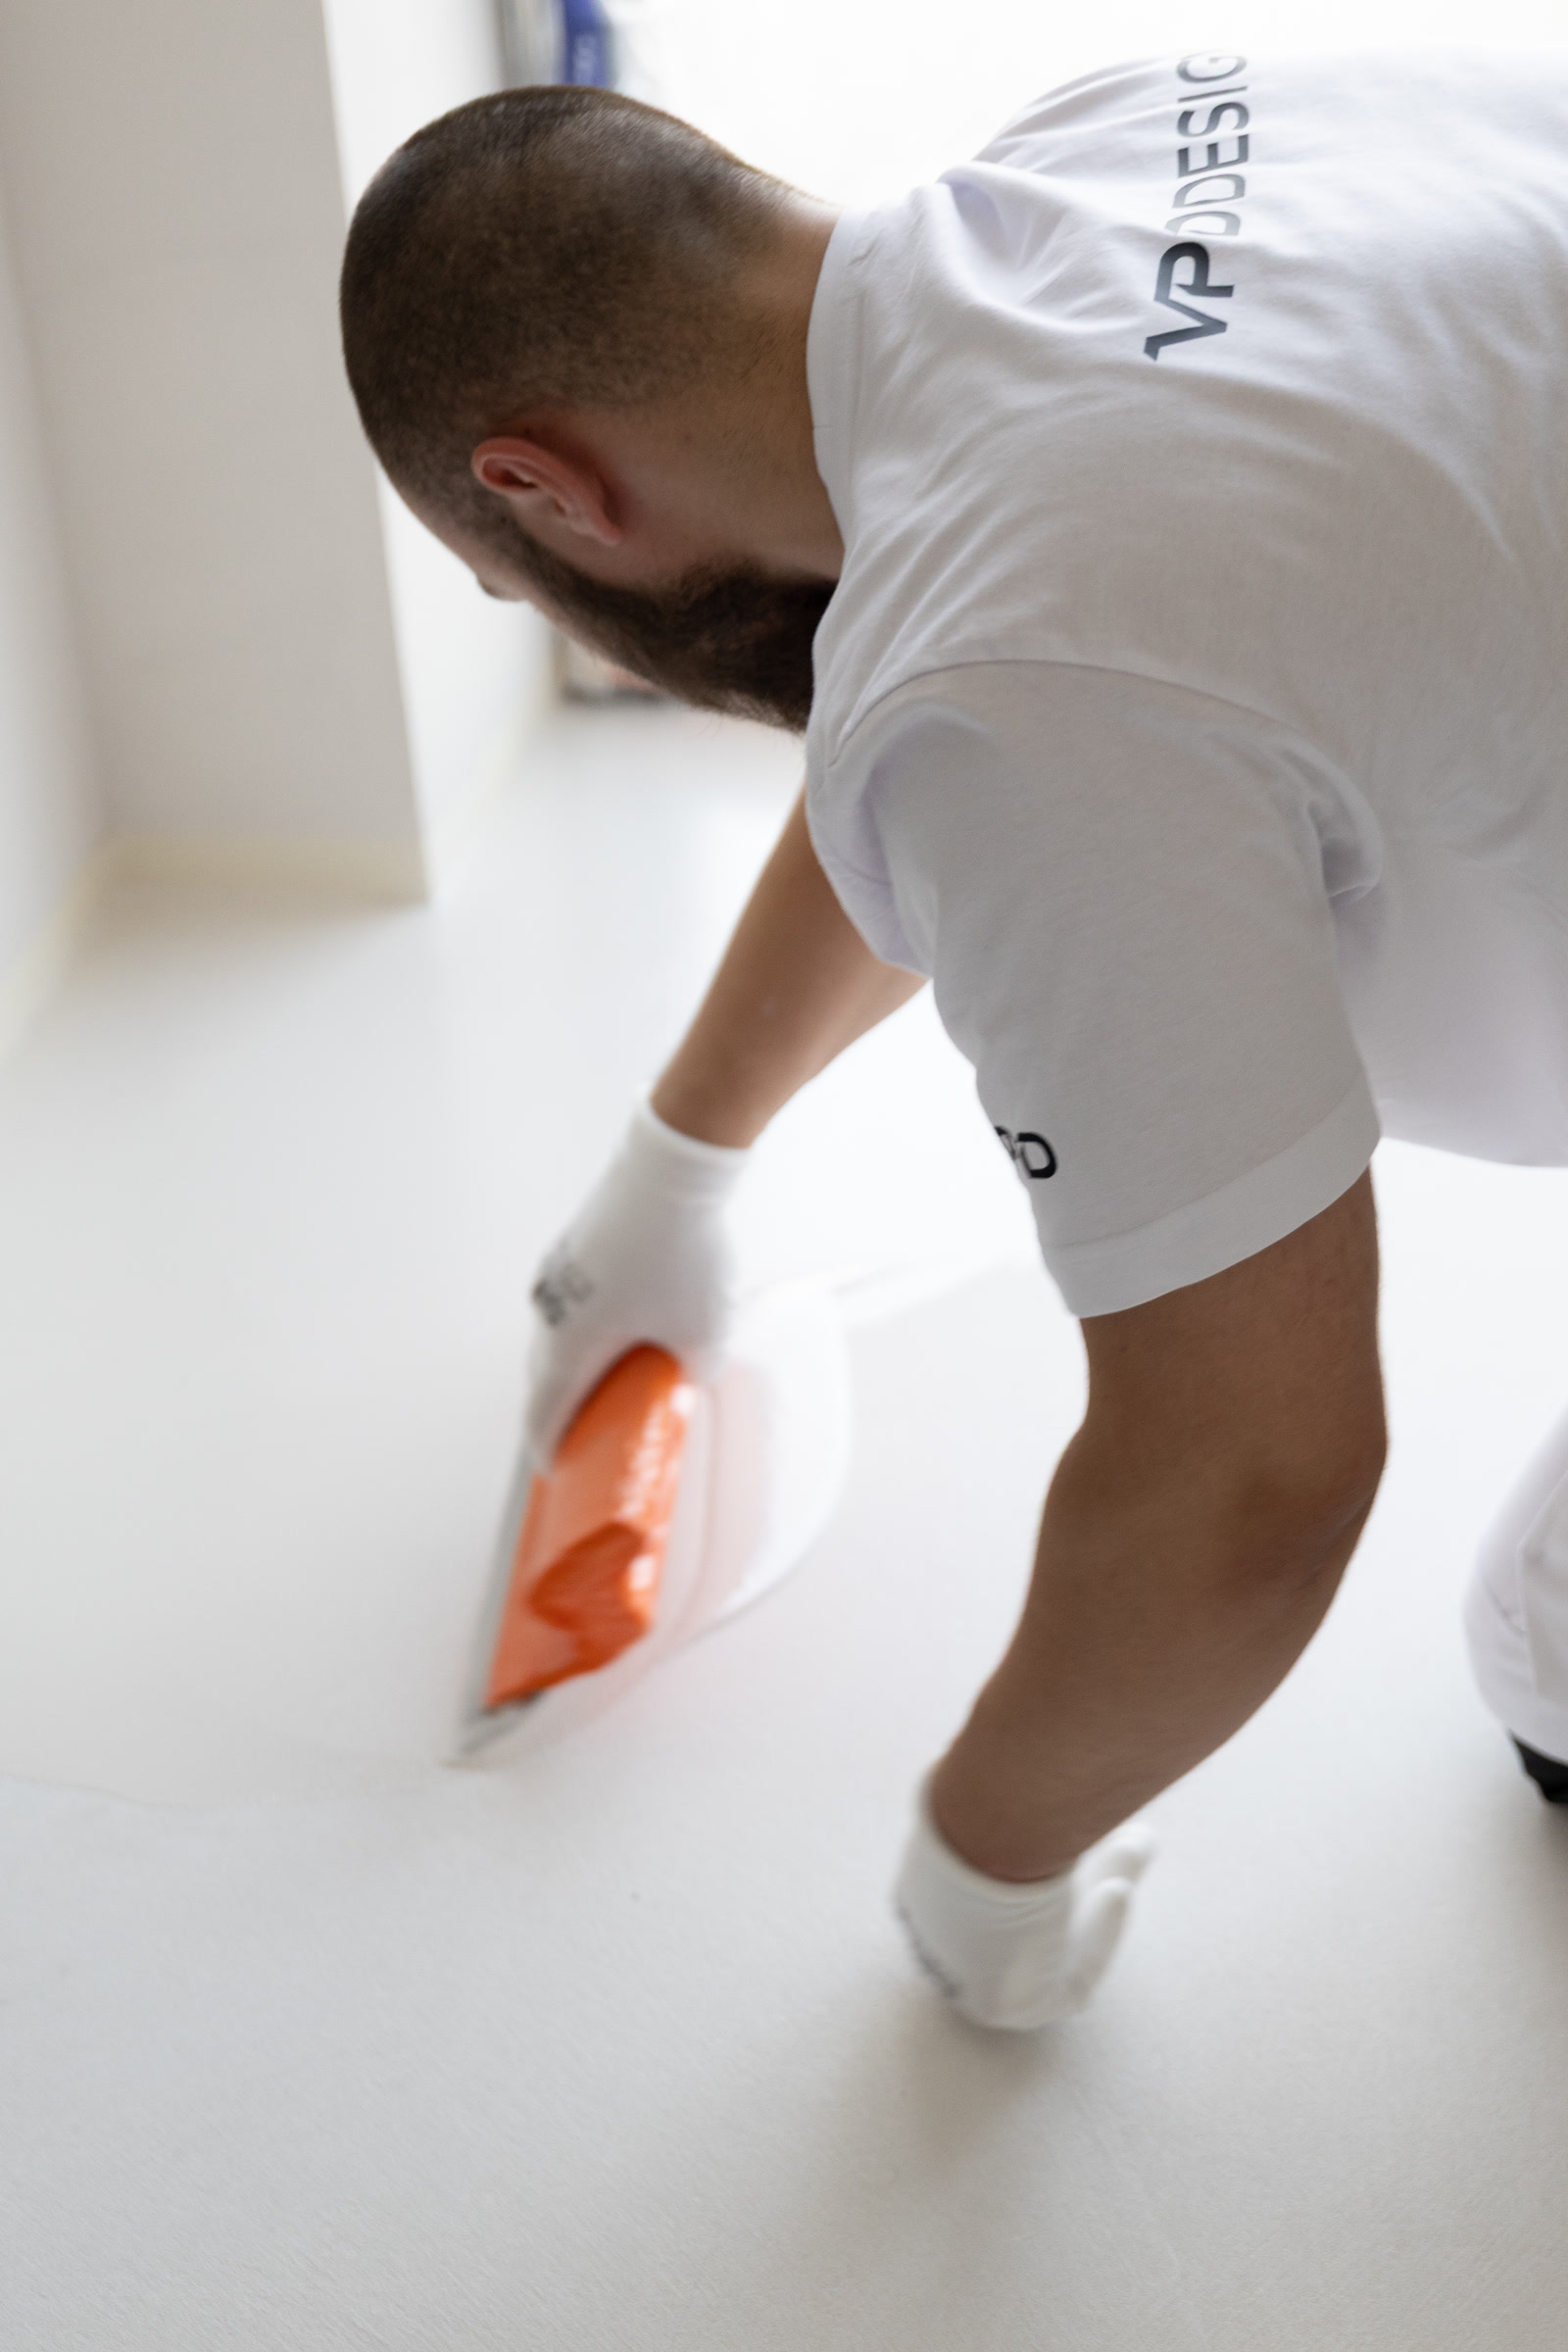
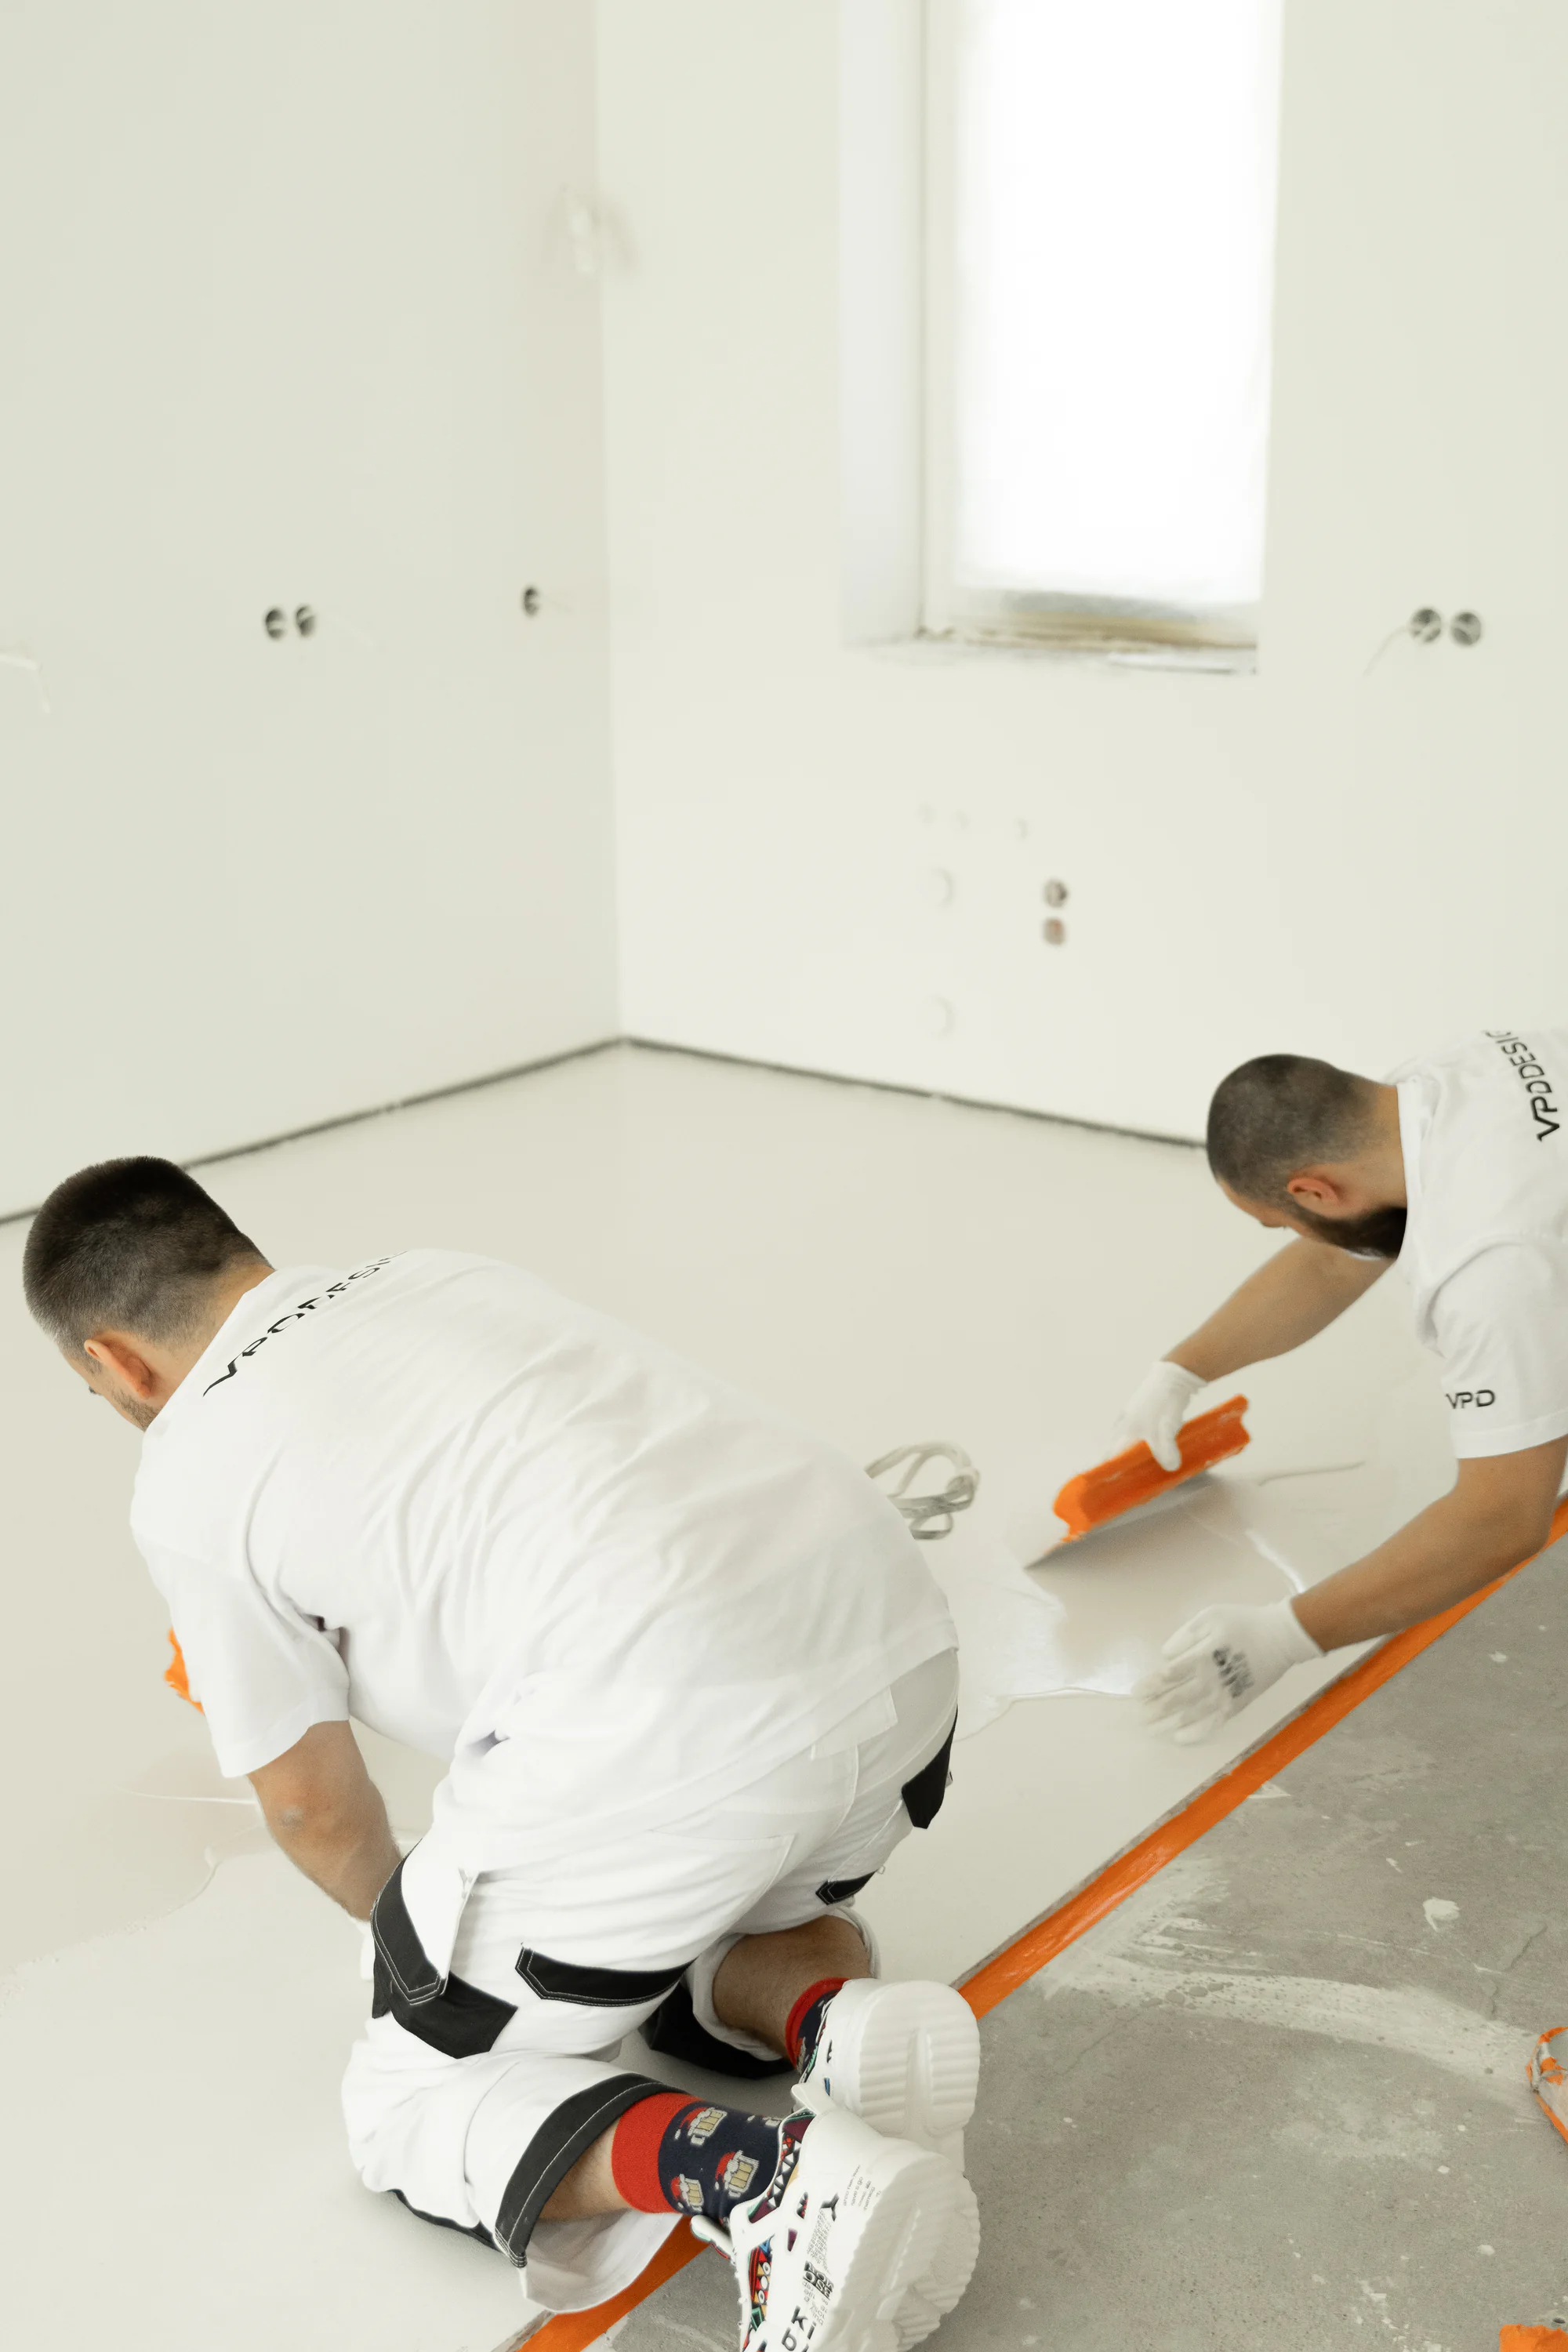
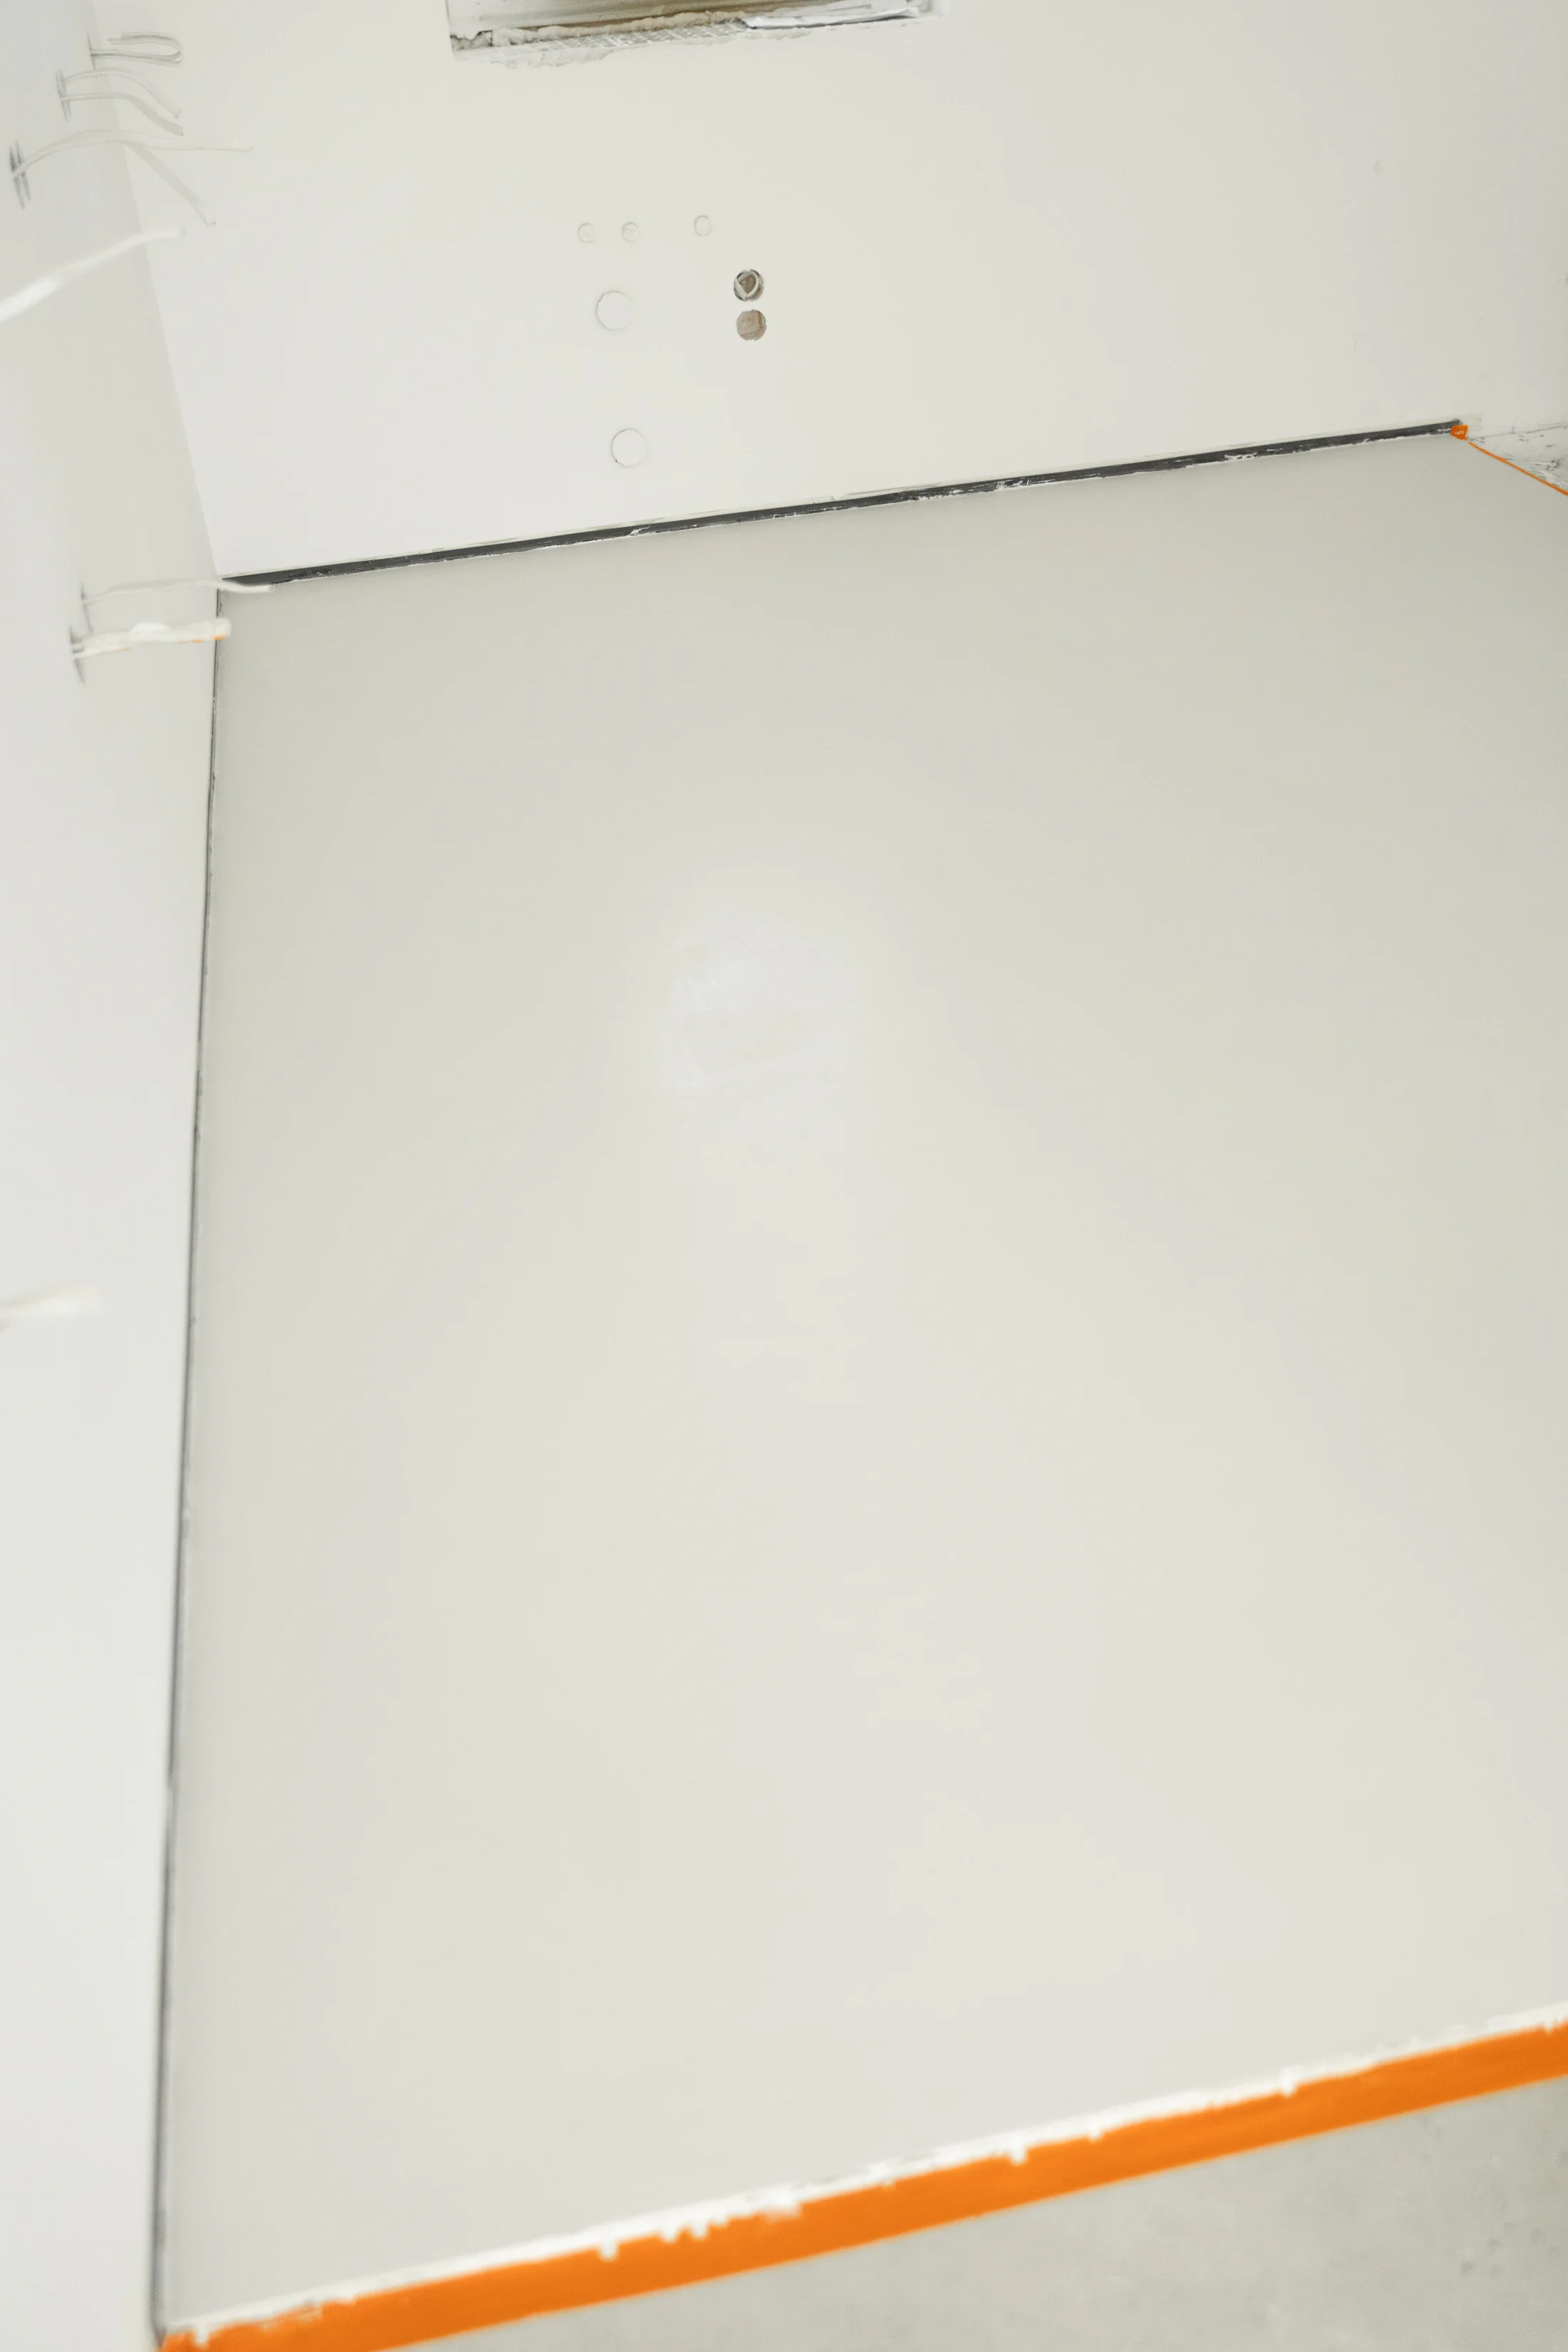
These images show general preparation work. We assess the condition of the existing tiles and grout separately for each project.
How the collaboration works
We assess the existing build-up first. Only then do we confirm the preparation and application of a new surface.
See the full processYou send photos, approximate area, location, substrate information and preferred timing.
We review visible risks and decide whether further information or a site visit is needed.
We complete the system stages and check the agreed critical details.
We complete the agreed work and provide information on correct use and care.
Project-specific quote
Area alone does not show the condition of the substrate, the number of details or the organisation required on site.
See how we prepare a quoteNo shortcuts
No. It depends on tile stability, grout, cracks, moisture, geometry and the layers below.
The grout pattern requires correct preparation. We do not confirm the result before assessing the surface and choosing a specific method.
Possibly, but it cannot be guaranteed. If the substrate is unstable or conceals a problem, removal may be the right solution.
It can be considered after assessing stability, loads, movement joints and geometry. A floor needs a different assessment from a dry wall.
They are often enough for an initial assessment. If they do not show the substrate condition or risk, we will need further information or a site visit.
Photograph the whole tiled surface, grout, cracks, drains, thresholds, corners and any areas that appear loose or damp.
Organisation on site
The footage shows the VPD team coordinating work on one surface. Hidden layers are assessed separately for each project.
See the full processExisting tiles: decide first
Avoiding demolition is a possibility to assess. Tile stability, joints, moisture, cracks and the layers below determine the direction.
Initial assessment
From photos and a short description, we will check whether we have enough to prepare a quote or need more information.
Enough to get started