
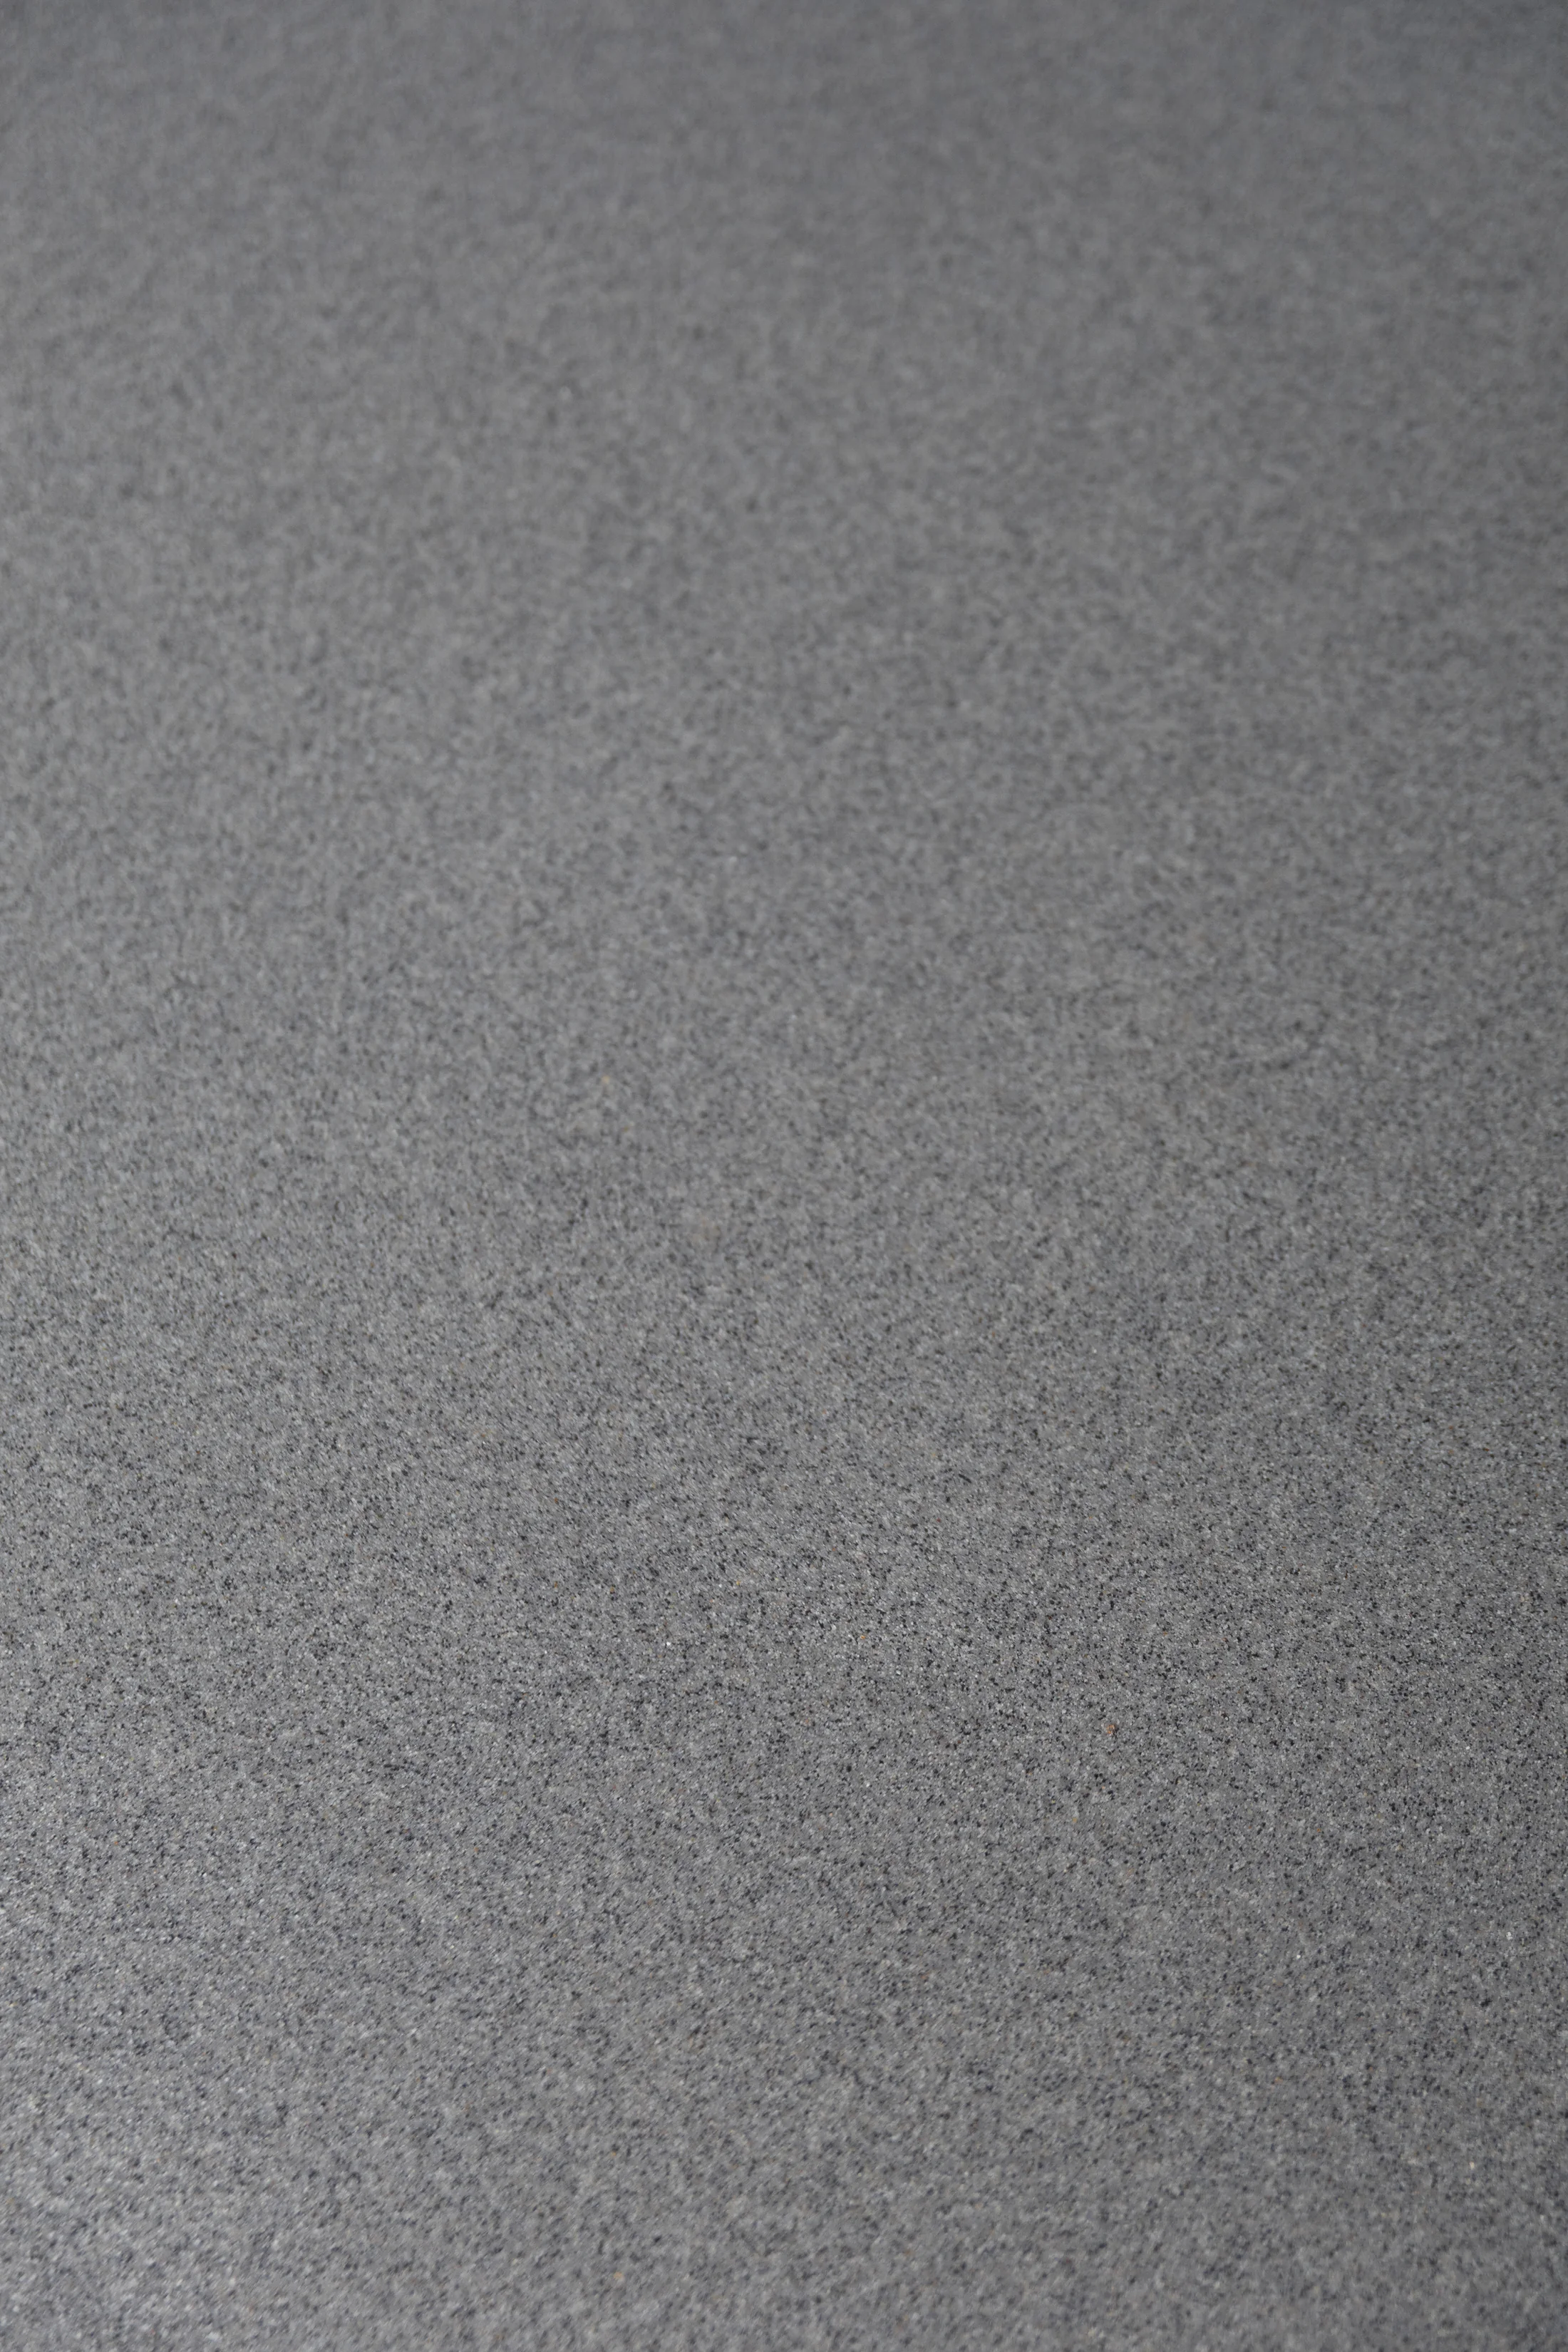
Texture and sample
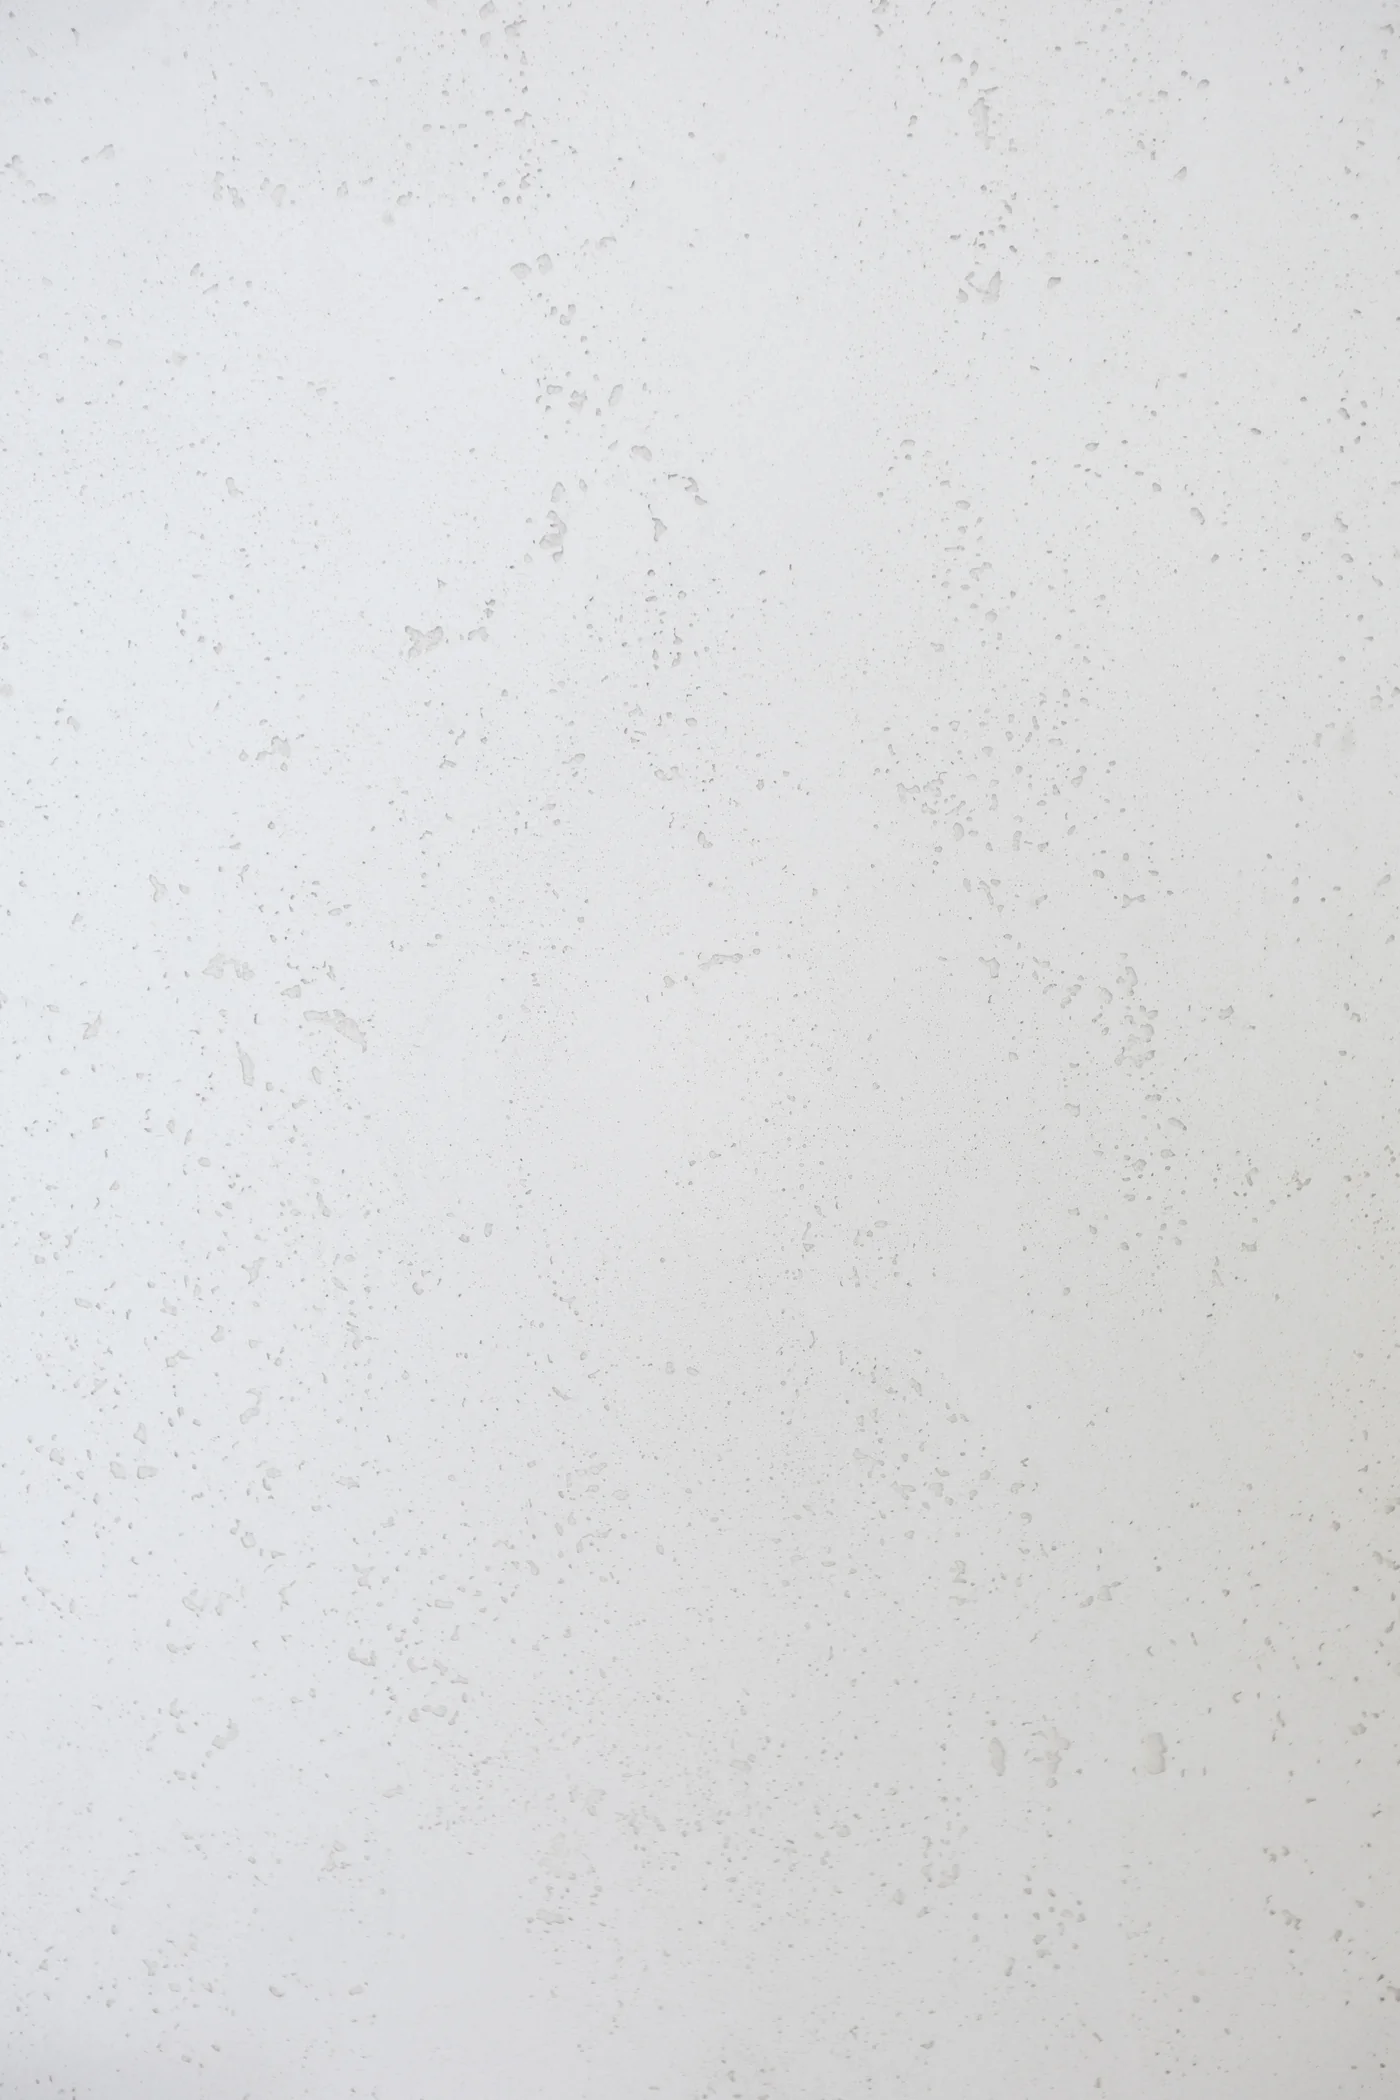
A sample helps define colour and movement. A larger plane remains a hand-applied surface with its own scale.
Microcement / walls
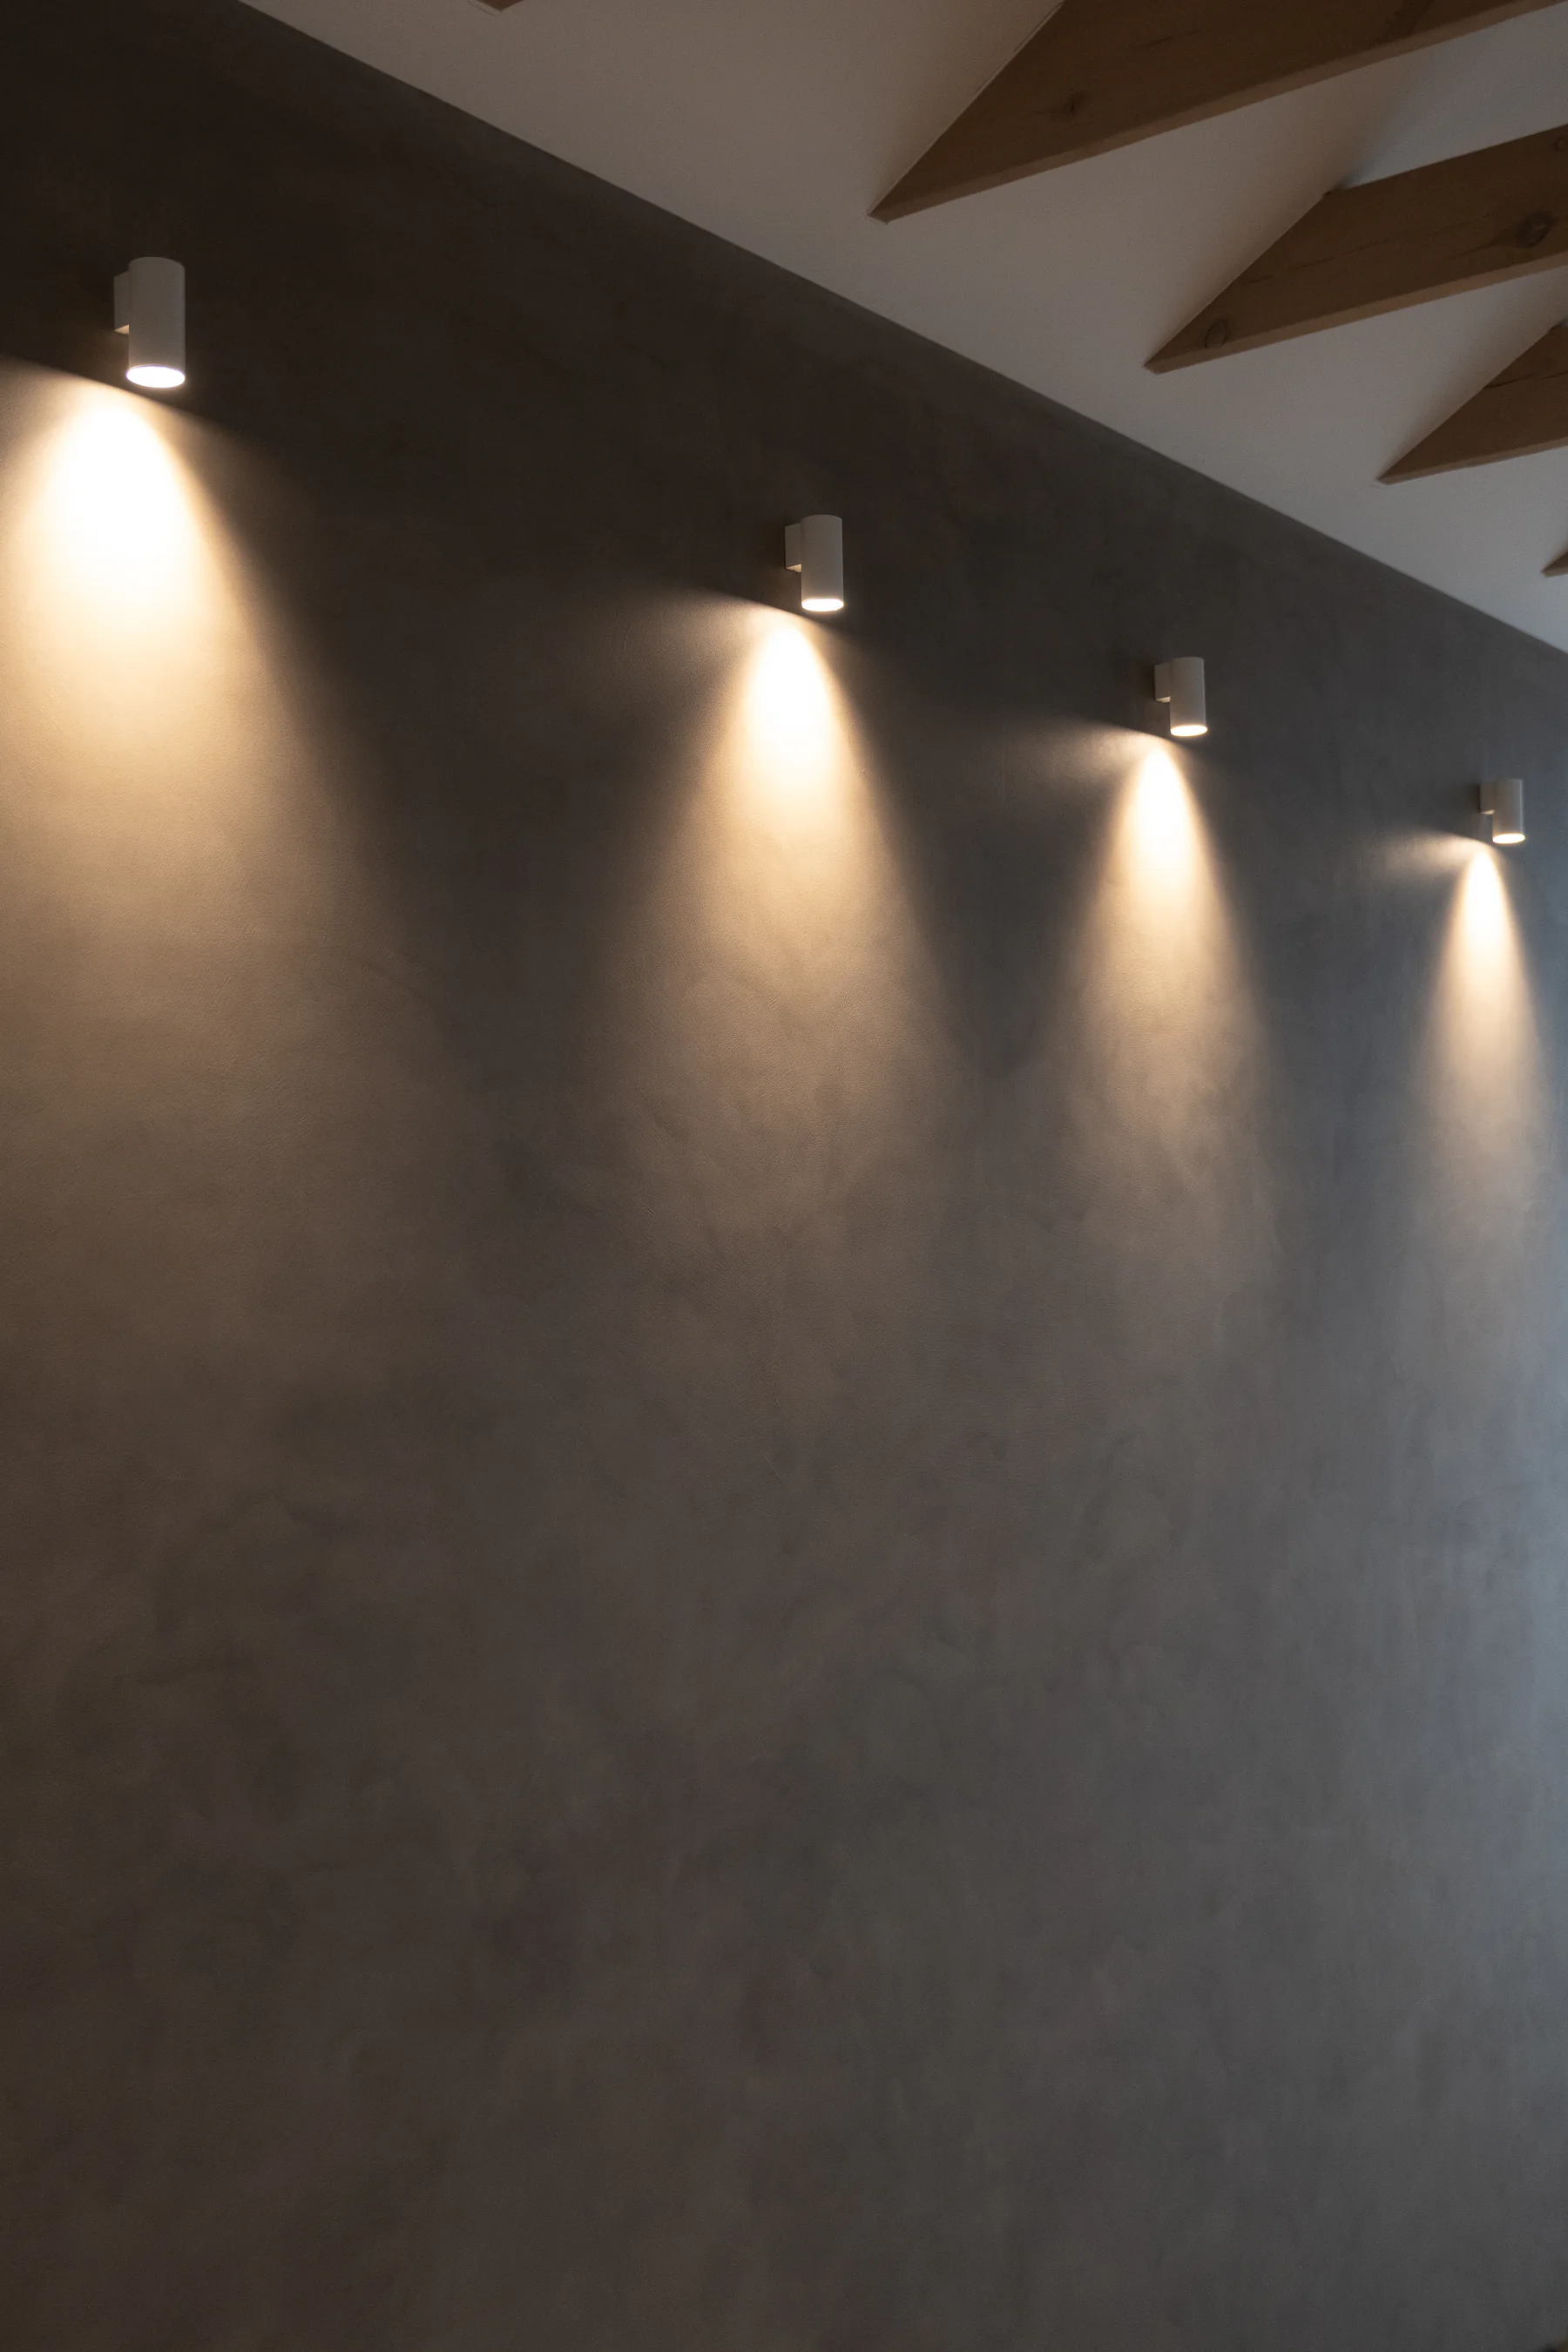
On a wall, hand application appears together with the light. We therefore discuss more than colour: texture, corners, niches and junctions with neighbouring materials all shape the result.
Send wall photosSurface in light
Light does not merely present the wall. It helps create it.
We confirm the scope for the specific project.
The wall from the doorway and close up
The same wall can appear quiet from the entrance and reveal the movement of the tool at close range. We agree a direction rather than promise a mechanically identical pattern.
A sample helps define colour and movement. A larger plane remains a hand-applied surface with its own scale.
In kitchens and wet areas, the scope depends on the specific zone, substrate and agreed protection.
We agree terminations, corners and connections to fittings before applying the decorative surface.
Before we confirm the scope
Photos are enough to begin. If they do not show the condition of the surface, we will explain what further verification is needed.
We assess the existing layer, its stability, absorbency, flatness and visible damage.
Daylight and artificial lighting reveal texture differently, so both matter before the visual direction is chosen.
Edges, built-ins and recesses affect the rhythm of the work and how the surface terminates.
A transition to timber, glass, stone or metal needs to be resolved before work begins rather than concealed at the last minute.
Surface in light
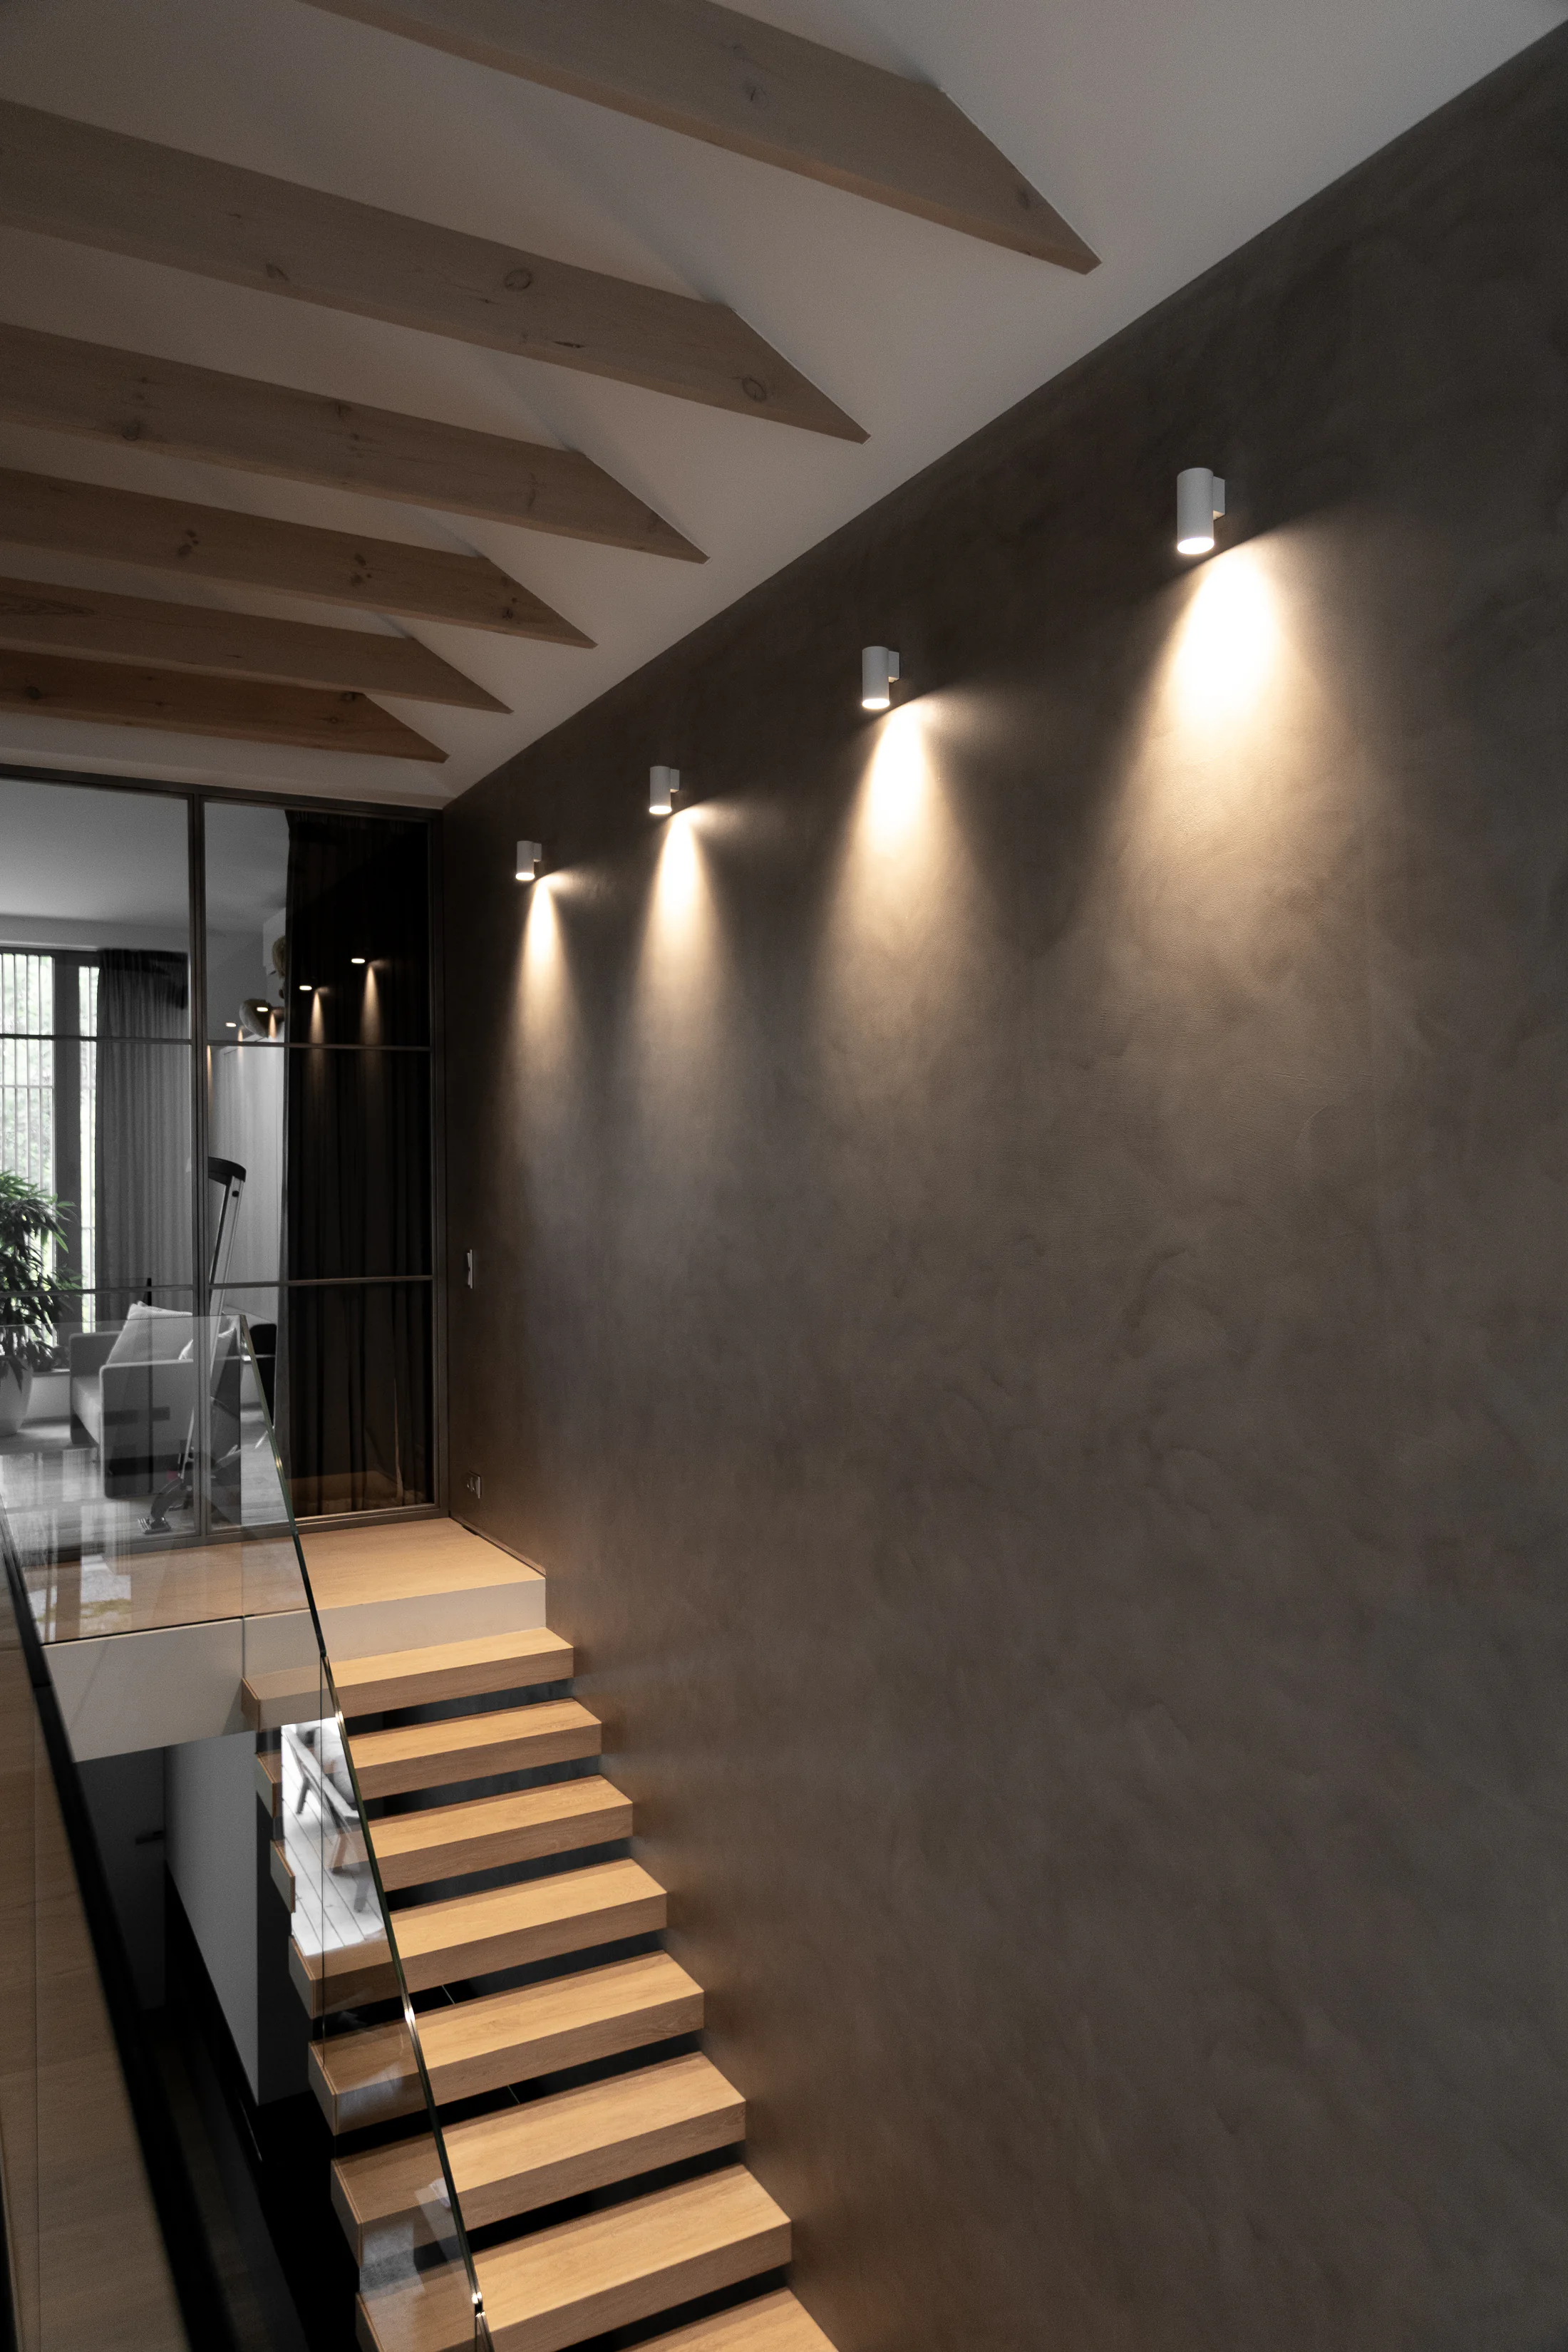
A changing viewpoint reveals tonal transitions and the relationship between the surface and light. This is a completed interior, not a texture simulation.
See the full processHow the collaboration works
The visual direction, corners and junctions are agreed before the hand-applied finish covers the full wall.
See the full processYou send photos, approximate area, location, substrate information and preferred timing.
We review visible risks and decide whether further information or a site visit is needed.
We complete the system stages and check the agreed critical details.
We complete the agreed work and provide information on correct use and care.
Project-specific quote
Area alone does not show the condition of the substrate, the number of details or the organisation required on site.
See how we prepare a quoteNo shortcuts
Suitability depends on more than the substrate name. Stability, flatness, existing layers and how the room will be used all matter.
A sample defines the direction, but a larger wall responds to scale and light. Natural tonal movement is part of the hand-applied finish.
We assess the exact location, substrate, contact with water and expected cleaning before confirming the scope.
The detail depends on geometry, substrate and the agreed effect. Corners are included in the scope before work begins.
Send photographs of the whole wall, its light and difficult details, approximate area, substrate information, location and preferred timing.
Walls and light
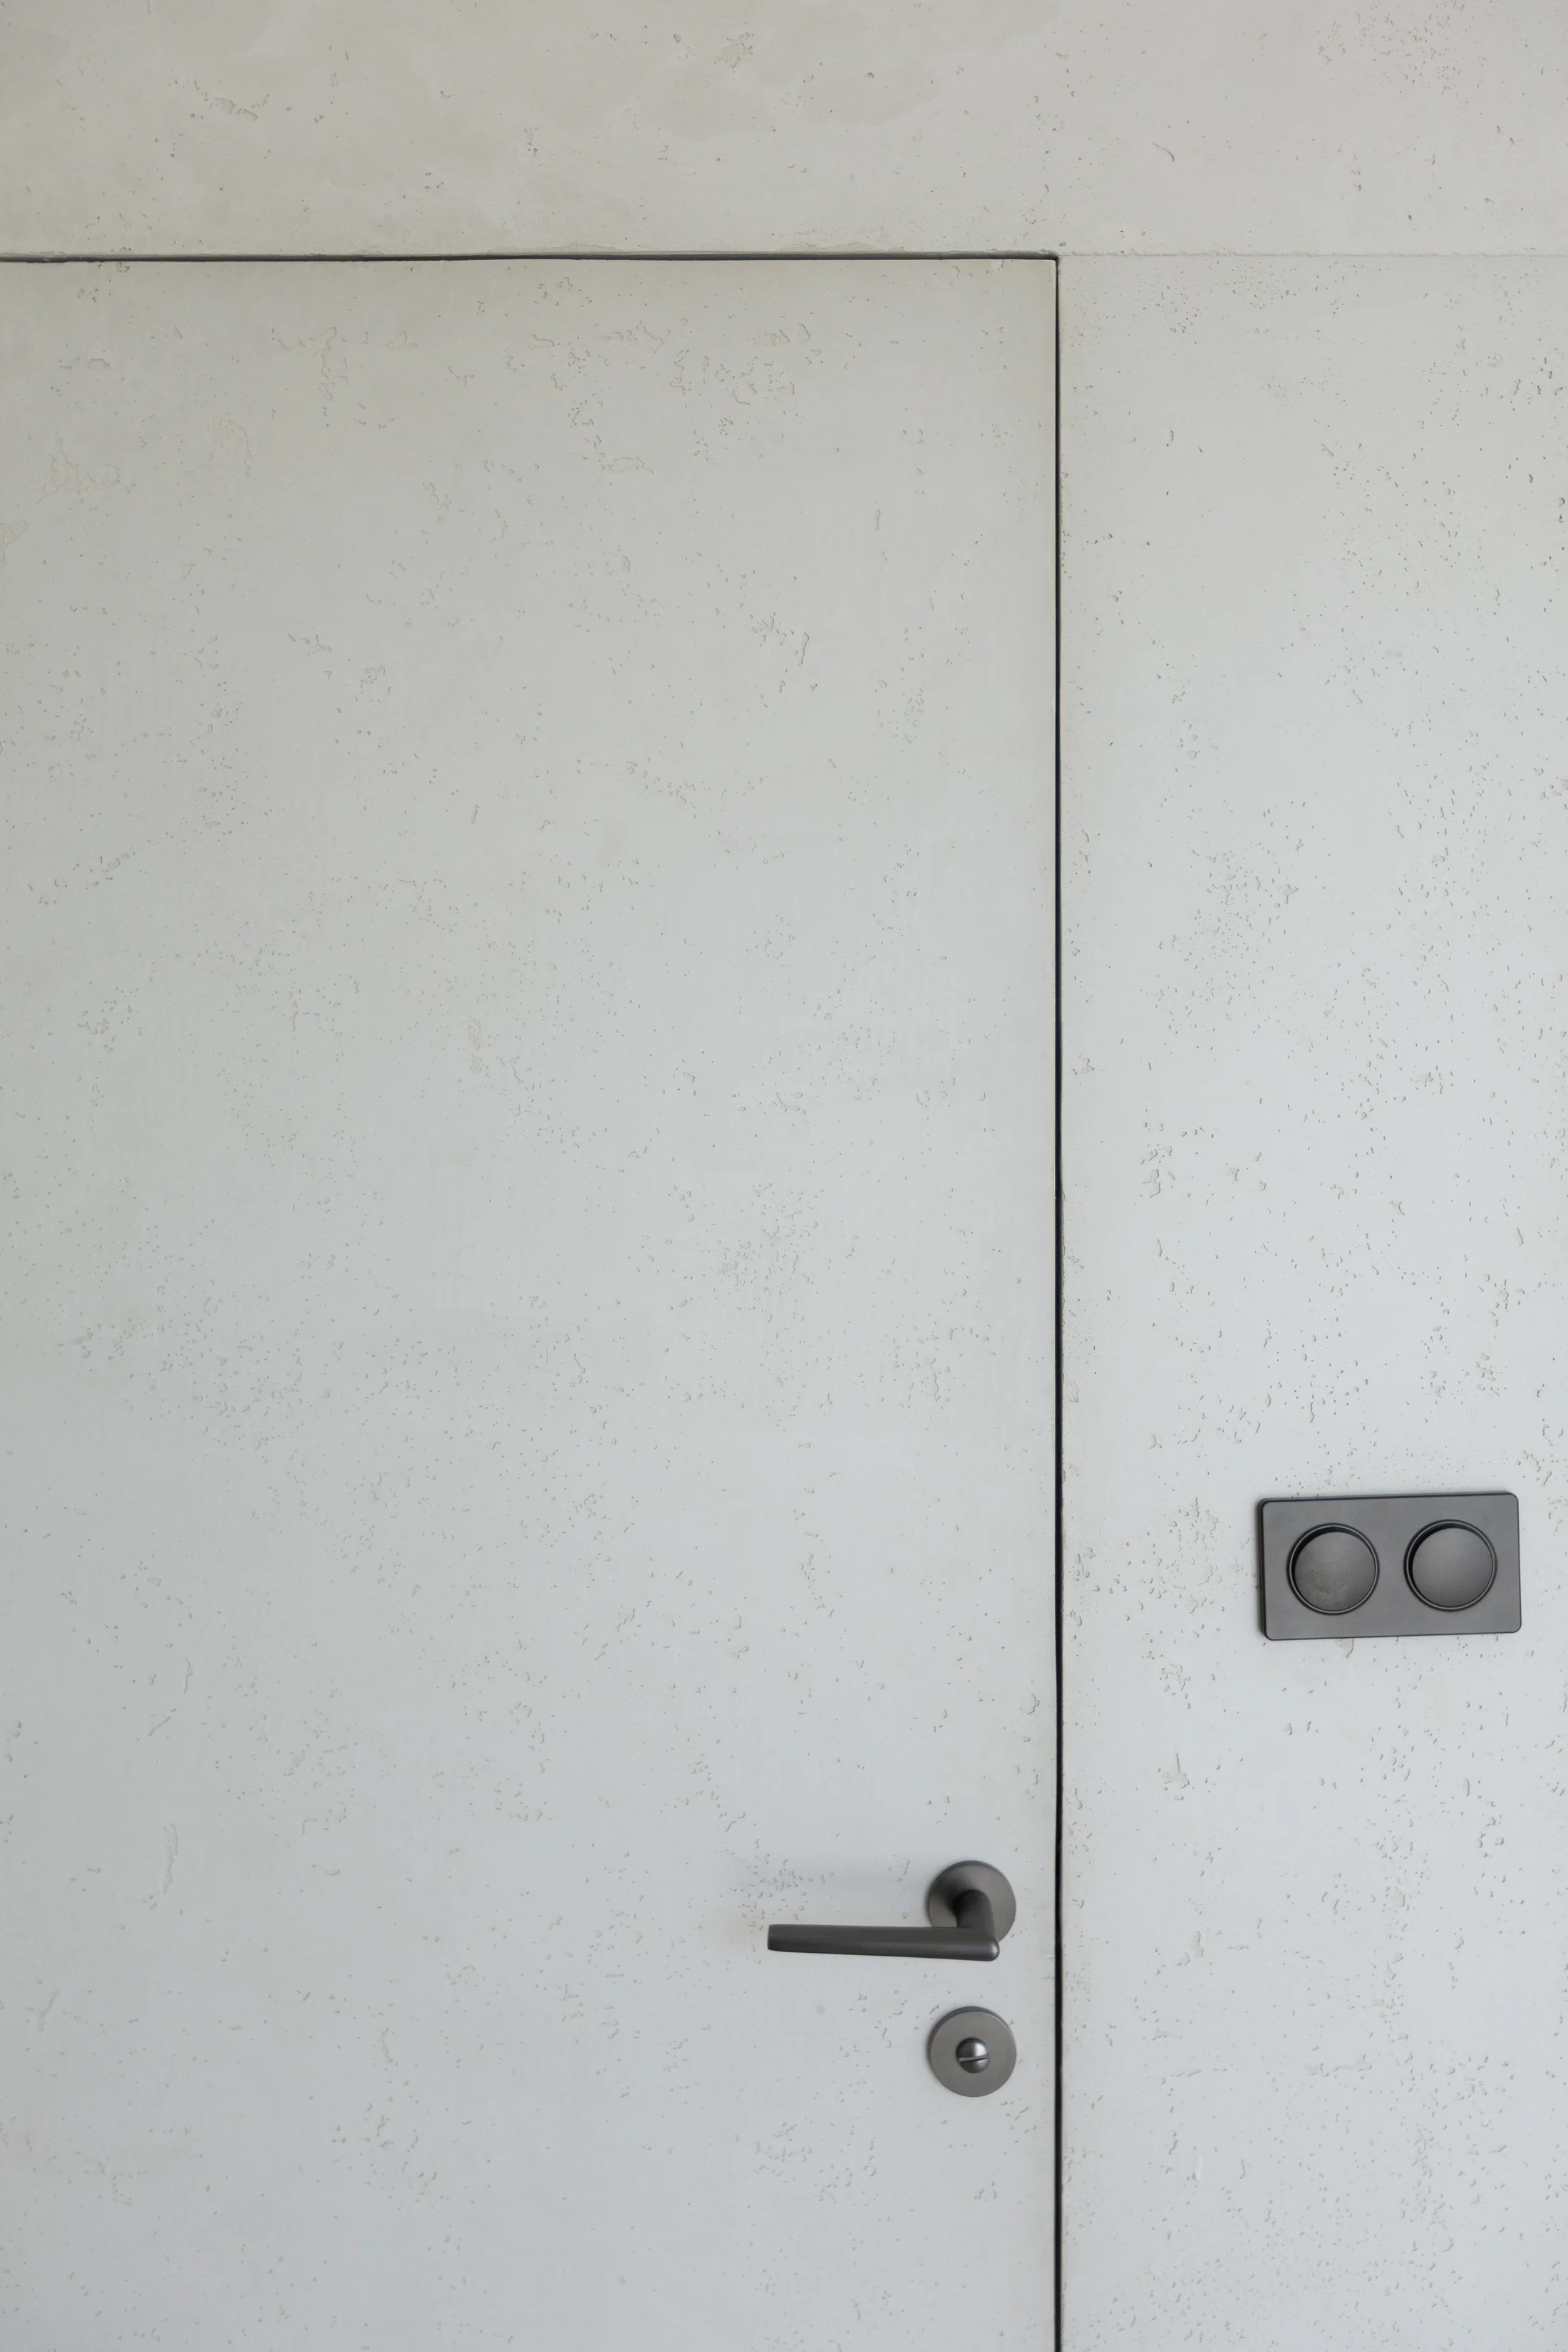
A hand-applied surface looks different from a distance and in grazing light. Edges and door junctions matter as much as colour.
See a wall-to-door junction The Warsaw office record includes a finished wall, door detail and material transition.
Review cost factorsInitial assessment
From photos and a short description, we will check whether we have enough to prepare a quote or need more information.
Enough to get started