
At a glance
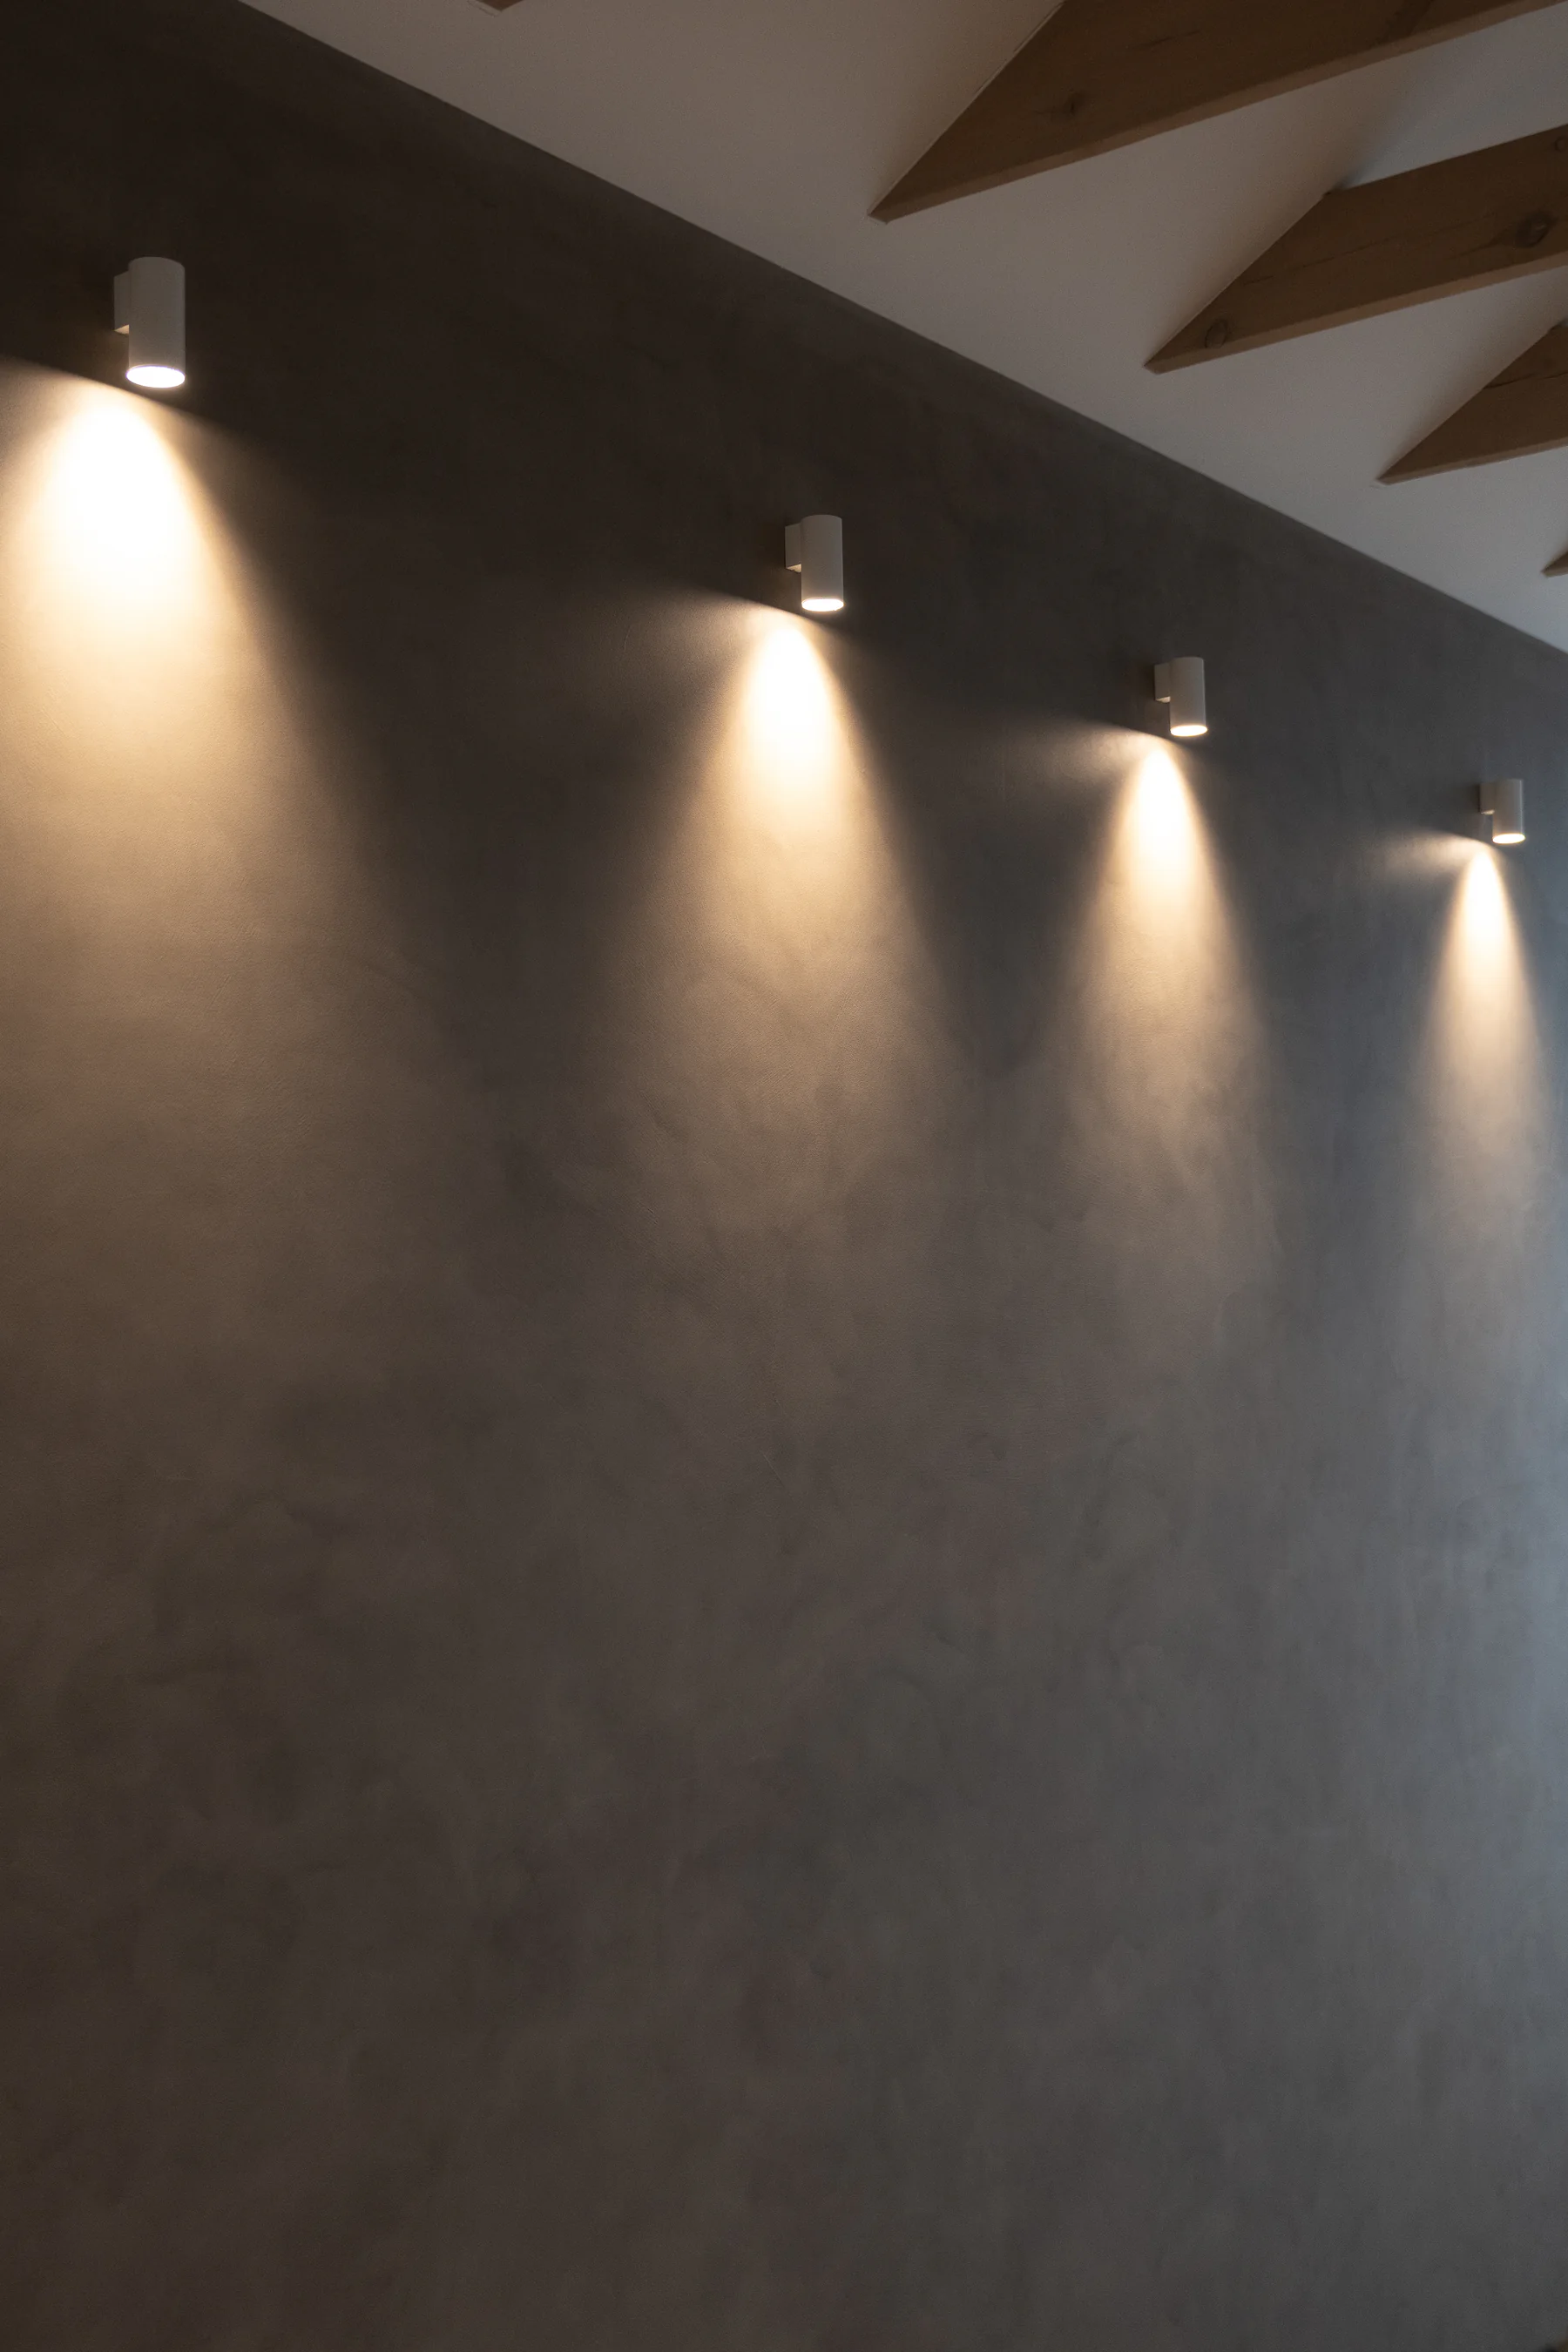
Look: shade variation, “clouds” and trowel marks are features of a hand-made surface and are not in themselves installation defects.
Durability: the sealer can scratch and needs renewing, and vinegar, wine or bleach should be wiped up quickly.
Substrate: cracks and moving joints can come through the thin microcement layer.
The surface is never perfectly uniform
Festfloor’s care instructions describe the discolouration, “burn marks” and so-called clouds typical of microcement coatings. weber describes a finish that is uneven in colour with visible working marks. If you expect an even colour like porcelain tile, microcement may disappoint you. Look at samples and finished projects in daylight and in raking light.
Cracks from the substrate
Microcement is usually 1 to 3 mm thick. It will not hide a moving substrate: Ideal Work says shrinkage cracks in the substrate inevitably transfer to the finishing layer, and Kerakoll that working joints can show against the light. That is why cracks, joints and the stability of the substrate are assessed first. Some problems cannot be solved by a finishing layer alone.
Stains and scratches
Unsealed microcement is absorbent — Mapei requires the surface to be protected with a finishing product. A sealer improves resistance but does not make the surface immune: in the chemical resistance table of a Topciment sealer, vinegar, wine and bleach leave a mark after longer contact. Festfloor warns that spilled liquids left standing can damage the surface permanently.
The sealer can also scratch. Manufacturers recommend felt pads under furniture and avoiding dropping hard or sharp objects.
The sealer needs renewing
Protection wears with use. weber recommends renewing the polyurethane coating within 12–36 months of installation, and Festfloor periodic application of a maintenance wax depending on how intensively the floor is used. Plan for this work and its cost, especially on kitchen and hallway floors.
Slippery when wet
A smooth sealed surface can be slippery when wet. Topciment’s standard Microdeck finish has the lowest slip class, class 1, in its data sheet. In bathrooms and at entrances, ask for a slip-resistant sealer or system with a stated class — our guide to microcement in the shower covers this.
Time and repairs
Microcement is applied in several coats with drying time between them. In weber’s schedule a floor takes about 7 days, not counting any levelling screed and its drying time. Festfloor allows full use only 14 days after the sealer is applied.
A local repair has to match colour and texture. Manufacturers recommend material from a single batch because batches can differ slightly in shade and sheen — so a later touch-up may not match the rest of the surface.
Cost
The price depends on the substrate, preparation, details and area. At VPD Design microcement installation starts from PLN 300/m², and the final price is set after assessing the site. When comparing microcement with tiles, compare the whole solution — preparation, waterproofing, details and care — not just the visible layer.
What this guide is based on
We use technical data sheets and instructions from Festfloor, weber, Ideal Work, Kerakoll, Mapei and Topciment. They are examples of what manufacturers state. This does not mean VPD Design installs each of these systems — the specific solution is decided after assessing the site.
VPD Design
Not sure microcement is right for you?
Send photos of the surface and describe how it will be used. We will help you judge which of these limits apply to your interior.
Ask about your project